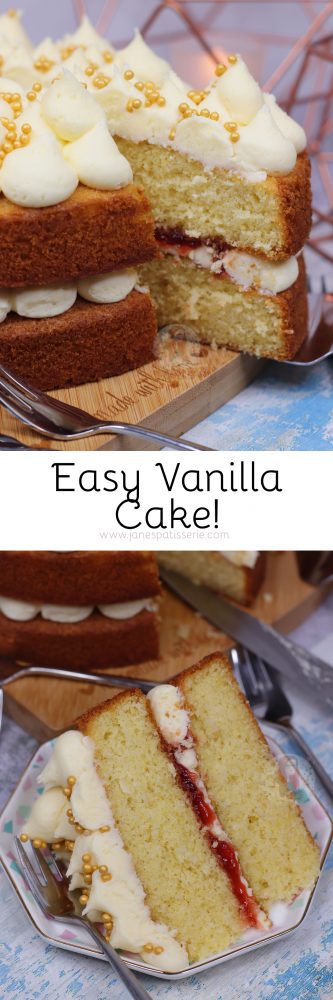
Vanilla Cake – Back To Basics!

*This post may contain affiliate links. Please see my disclosure for more details!*
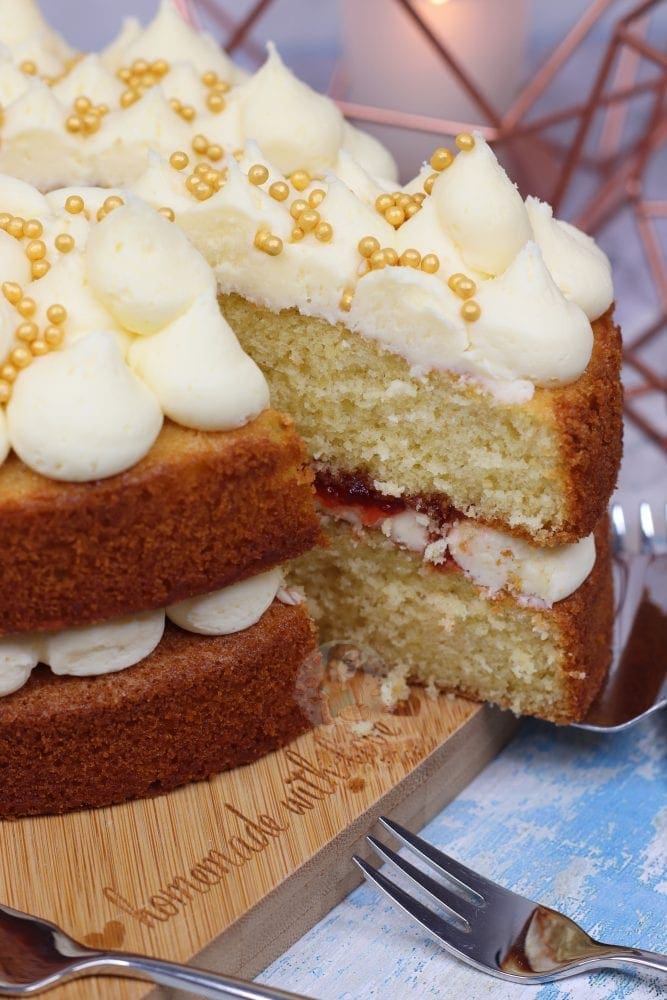
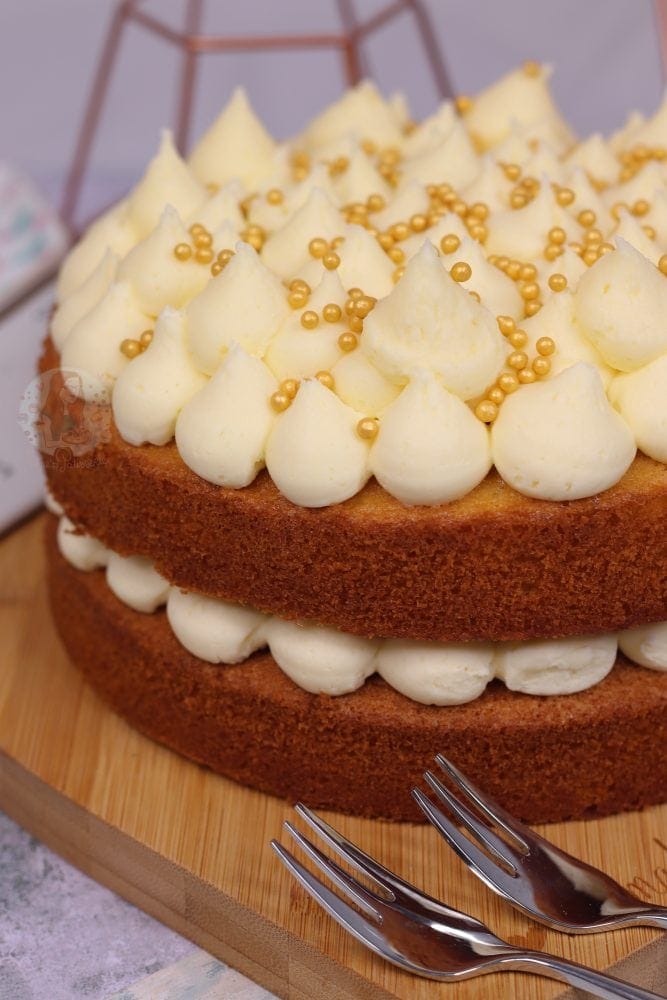
A delicious two layer vanilla cake with vanilla buttercream and strawberry jam!
Back to basics
Back in 2018, I thought I would start a new series on my blog – ‘back to basics’. As much as I hope that all my recipes are simple and doable by anyone of any baking ability, I know that some are not! Or, some people do just want to learn the basics – and I want to help with that!
Vanilla cake
I thought that I would go for an absolute classic for my fourth instalment, a vanilla cake. This beauty is a two layer vanilla sponge cake, with vanilla buttercream frosting, and one of my favourite jam flavours… strawberry!
Okay, so back to basics has potentially gone a little bit too basic now, with a vanilla cake.. but I’ve had endless requests. I do have a Victoria sponge recipe on my blog already, but this a two layer beauty and potentially explained in a much better way. I hope.

Other ‘back to basics’ recipes
My first part of the back to basics series was my triple chocolate brownies, followed by my no-bake vanilla cheesecake, and then thirdly the chocolate cake. I figured doing a vanilla recipe would fit with the system and alternating between the two flavours!
Its all in the science
But anyway… this is basically the most simple yet most scientific of cakes. It only really takes four ingredients to make something DELICIOUS, but you have to get it right. It doesn’t really matter whether you use a two egg recipe, three egg, four egg etc… as long as the ratios are equal.
There are obviously other factors that are involved with getting the perfect cake – but really the ratio, how you mix it, and the oven being the correct temperature is so important! I use a Fan oven, so I bake my cake at 160 degrees! As my oven is new, it helps so much, but with other ovens I have used an oven thermometer to make sure my oven is correct before baking – as ovens can be drastically out!


I’ve mentioned this before, but I’ve heard (this could be incorrect), that the ovens on The Great British Bake off are tested each day before the contestants start by baking a Victoria sponge – as it’s the most classic and scientifically easy bake! If the bake doesn’t bake correctly, but you know its weighed and mixed correctly, then usually it means it’s the oven.
Method/mix
If you know your oven is at the right temperature – just make sure you mix it correctly. I personally switch between the all in one method, and the beating sugar and butter first method – but in general, I find the beating the sugar and butter together method is better for the most.
Butter
If the butter is too cold for the cake, it can make the cake mixture a little lumpy. I usually use room temperature unsalted butter (the kind you get in foil), or Stork for cake sponges. Either work absolutely fantastically! However, for the buttercream, you must NOT use Stork. Only use unsalted butter for the buttercream – otherwise it can split or taste horrible!


Handy equipment!
I personally use my Kitchenaid mixer with the scraper paddle attachment for a majority of my baking – and all my cake mixes and buttercreams. I don’t use a whisk, as that creates too much air, and can be quite faffy – but if you have just a handheld mixer, then the whisk attachments for those are fine.
You can easily make a cake mix and such with just your hand, a bowl and a spatula, but for buttercream it does take a bit more welly to get it just perfect! You could go the whole hog and make your own homemade jam if you want, but I just thought I would stick with this recipe being about the actual cake!
I hope you all love this recipe, and no I am not claiming I created it, because it’s been around for centuries and centuries – it’s just science! But honestly, enjoy! x


Vanilla Cake - Back To Basics!
Ingredients
Cake!
- 250 g unsalted butter
- 250 g caster sugar
- 250 g self raising flour
- 5 medium eggs
- 1 tsp vanilla extract
Buttercream!
- 200 g unsalted butter (room temp)
- 400 g icing sugar
- 1 tsp vanilla extract
Extras!
- 200 g strawberry jam
- Sprinkles
Instructions
- Preheat your oven to 180C/160C fan and line two 8"/20cm tins with parchment paper, and leave to the side.
- Beat together your butter and sugar for 3-4 minutes until light and fluffy!
- Add in your self raising flour, eggs and vanilla and beat again for a a couple of minutes until smooth.
- Try not to over beat - mix until it comes together and is smooth
- Split the cake mix between the two tins. I weigh it to make sure its even - each mix should weigh 500g each (roughly)
- Once in the tins, bake in the oven for 30-35 minutes, or until baked through. I check my cake is baked by using a skewer, and listening carefully to see if it bubbles!
- Once baked, leave to cool in the tin for 10 minutes, and then transfer to a wire rack to finish cooling.
- To make the buttercream, make sure your butter is at room temperature.
- Beat the butter on its own for 3-4 minutes, I use the paddle attachment.
- Once the butter is nice and supple, add the icing sugar in 1/2 at a time, and beat fully before adding any more in.
- Add in the vanilla, and beat again for 3-4 minutes until it's all come together.
- Carefully pipe or spread half of your buttercream onto the first cake, and then top with some jam.
- Add the second sponge on, and then spread the rest of the buttercream on top.
- Decorate with your favourite sprinkles, and enjoy!
Notes
- This cake will last for 3 days at room temperature, in a cake box.
- You don't have to use the vanilla, but obviously that is the theme of the cake!
- You could always use vanilla beans/paste/extract over essence as its much more natural!
- The jam is optional - or you can swap to whatever flavour you prefer!
Find my other recipes on my Recipes Page!
You can find me on:
Instagram
Facebook
Pinterest
Twitter
Youtube
J x
© Jane’s Patisserie. All images & content are copyright protected. Do not use my images without prior permission. If you want to republish this recipe, please re-write the recipe in your own words and credit me, or link back to this post for the recipe.
Hi Jane, I was wondering if I could make this cake in one 9inch x 4inch deep cake pan, if I can how long will it take to bake.
Hi Jane
I want to make this in a 9×9 square tin do I increase the recipe by 1.5 or do I keep it the same.
thanks Claire
Hi, I am looking to make this gluten free for a friend next week. Is it a straight swap to gluten free flour with a bit of xantham gum too? Many thanks!
Hi would this be the same measure for a 9×9 square if not what would measurements be
Thanks claire
I’ve just made this recipe, any idea why my sponges are really flat and thin? Used exact amounts of ingredients and did exactly as the recipe! 🙁
Hello Jane
I’m going to make the traditional 8inch cake , but also want to add a 6 inch cake on top to make it two tiers.
What would the measurements be for a 6 inch cake tin please , I only have the one .
Thankyou Mel
Hey, 6″ are usually 2/3rds of an 8″ recipe xx
Hey Jane how canni store this cake I need it i have 17 hours until this cake is delivered and it is so hot at the moment will it be ok in the fridge
Hey, as the cake is not fully covered i’m buttercream it may dry out in the fridge xx
Hi Jane, I am planning on using this recipe to make a 2 tier cake. Bottom tier will be 8inch using the above amounts but the top tier would be a 6inch cake.
If I half the mixture this would do x2 6inch tins is that right? If I am correct how many eggs would you use for the halved mixture?
Thanks for your help, absolutely love your recipes they never fail!!!
Hey Jane,
Love this recipe! Made it for my son’s birthday cake, so thank you.
I wondered if it could be adapted to fit a half sheet pan at all? I’m terrible with trying to understand all the conversions.
Hey! Yayy that is so lovely. It depends on the exact size of the tin but yes it can be adapted x
Hi Jane,
I was wondering I would I be able to adapt this recipe to make a small 4 inch cake?
Thanks
Yes for sure!
Hey!
Thank you for this recipe!
I’m using it to make a letter cake – I just wanted to ask about the cooling process – should I seran wrap whilst cake is cooling and if so, should it go in the fridge straight after or after it’s completely cooled? I’ll be decorating the day after.
Thank you 🙂
Hey! You use cakes to cool at room temperature on the wired rack xx
Are these cakes deep enough to slice in half so I could make a 4 layer cake? I don’t want it to be massive but would like 4 layers if possible.
Hi Jane,
I’m a huge fan and have made several of your cakes!
I wanted to make this for my Dad’s 50th but as a 4 tier cake- what measurements would you recommend?
Thanks!
Hello! I am so pleased you love my recipes! I would just double it xx
Jane, you’ve done it again!
I swear that every time I make one of your recipes my friends and family rant about how delicious everything is! Your cookies, cakes, etc. are always perfect and delicious! This cake was tender and moist yet so simple!
Thank you so much for sharing your recipes!
Hi Jane,
I absolutely this recipe and goes down a treat every time I bake this!
I’m looking to make this into a 3 tier cake for a birthday cake and fully cover in buttercream, would you be able to advise the ingredients weights for the cake and buttercream please? Would everything for the cake be 375g or 400g?
Abi x
For a 3 layer cake I use a 400g mix, and for buttercream I would maybe use 2.5x x
Could I ask if you made this 3 tiers, and if so, how many eggs did you use? Thanks so much
How much ingredients would I need for a 10 inch cake tin please xxx
Hello! You would need to use roughly 1.6x the recipe x
Hi Jane,
Love the recipe, cake turned out lovely! Just wondering, my buttercream came out a kind of pale yellow (presumably from the butter!). Yours looked a little whiter in the photos. Is that just lighting or is there a way of having it less yellow? It tasted good though and that’s the main thing!!
Thanks so much for all the recipes you share.
It’s probably a combination of lighting, but also its down to how much you beat the butter first – the more you beat the butter on its own the lighter it will be! x
you have to whip the butter for a very long time until it is white , sometimes i go 10 mins. also i have had this problem before because i used stork instead but using real butter is better to make a white buttercream. Also if you still find it’s still yellow but perfect in consistency then you can try using and very small amount of purple dye to cancel out the yellow.