No-Bake Biscoff Cheesecake!

*This post may contain affiliate links. Please see my disclosure for more details!*
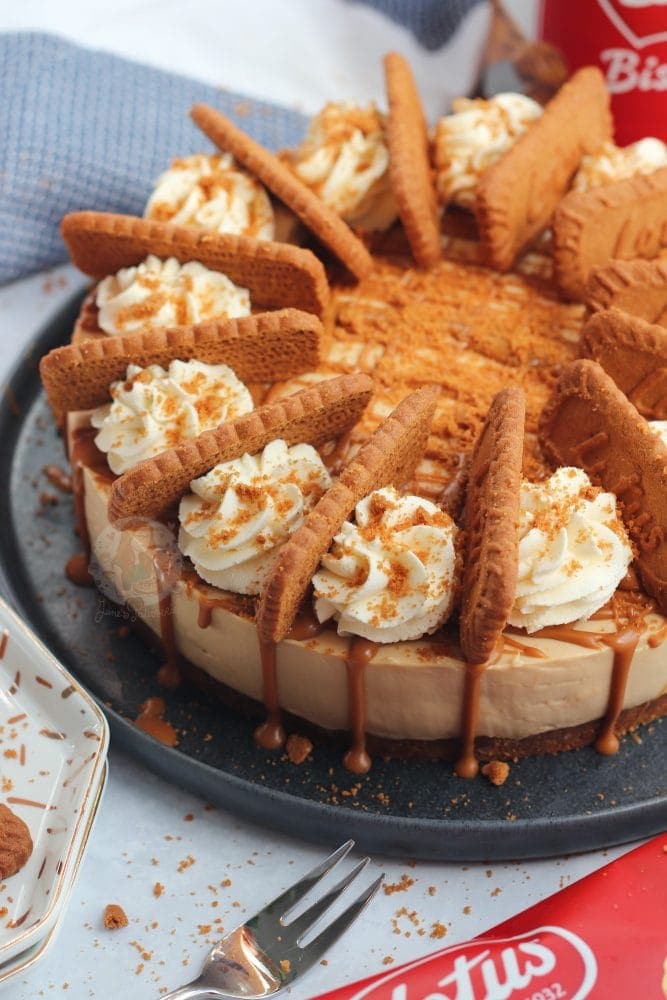
A delicious no-bake Biscoff cheesecake, with a Biscoff biscuit base, creamy Biscoff cheesecake filling, sprinkled with more biscuits and whipped cream and a Biscoff drizzle.
Biscoff cheesecake
Okay, so I am a little obsessed with cheesecake as you might have noticed… but there’s nothing wrong with that? Right? Anyway… this is utterly delicious and different to my other cheesecakes – the Biscoff spread creates a delicious spiced cookie flavour compared to the sweetness of the others on my blog.
This cheesecake suits all of the needs of loving Speculoos/Biscoff, no-bake recipes, and cheesecake in general. It’s utterly scrumptious! I always get a little confused as to whether there is any difference between Speculoos, Lotus, or Biscoff, but the fact that even my local supermarkets in the UK sell something similar at least makes me very happy.

Biscoff
I always thought that I could only get it from the rare american candy shop I came across in the UK or when a friend of mine would bring me back some from the US, but now I can get it all the time! You can find the Biscoff spread in the supermarkets near the Nutella and such!
Honestly, though, Biscoff is genuinely one of my favourite things. My Biscoff cake, Biscoff cookie butter cupcakes and Speculoos/Biscoff cookie butter fudge are just some of the other recipes on my blog using it already. Honestly, its an ever so slight addiction. I even saw some articles about Biscoff spread saying the UK had ‘compared it to crack’ on how good it was when it was introduced a few years ago…


Simple recipe
I’ve made no-churn crunchy cookie butter ice-cream for a while now as my dad loves the flavour of it, but the idea of making a cheesecake just HAD to happen. This recipe is so simple to make, and very very similar (if not the basically the same) method as my no-bake caramel Rolo cheesecake.
Simply mix the biscuit and melted butter to make the base, and whip up all of the cheesecake ingredients and spread it over the base – leave to set and HUZZAH! It’s done! And then I obviously decorate it in some form or another, but this is all optional. The only bits that you really do need is the base and filling ingredients!


Recipe updates
I’ve updated this recipe quiiiiteeee a few times, but that’s just because I have never been a fan of the pictures I have used. Often I will end up remaking something due to the photos and nothing else, but when I originally updated this I did change the recipe ever so slightly. The original ingredients are listed in the notes section of the recipe
I just utterly adore and LOVE Biscoff, and I know a lot of you guys do as well. It’s sweet and spicy at the same time, which makes it a perfect addition to a cheesecake. The spread on top gives a nice rich addition, along with the Lotus biscuits on the bottom. If you don’t want it to be quiiiiteee as Biscoff like, then use 300g of digestives on the bottom with 150g unsalted butter.


Cheesecake filling
When you whisk the mix up, it really doesn’t take too long at all – it takes me about 45 seconds to make the mixture. I whisk the cream cheese, biscoff, icing sugar and vanilla for about 10 seconds. Then, I add the cream in. This then takes another 30 seconds or so, and it’s lovely and thick. This is, of course, dependant on a few things – the temperature of the ingredients, brand of ingredients etc.
- Cream cheese – pretty much ANY full-fat soft cheese works. I would drain any liquid you see on top. Mascarpone is naturally sweeter if you want to use that, and others such as Philadelphia are thick and classic cheesecake
- Cream – use double cream (I’m in the UK – elsewhere it can be called ‘heavy cream’). Our double cream is typically 47% fat content so is very high. If yours is less, you may want to whip the cream separately and then fold through to help it set better
- Sugar – I like to use icing sugar
- Biscoff – smooth, or crunchy – it’s up to you.
I switch between using my stand mixer and my electric hand whisk – but both work very well. You can use either, or neither. When you make a cheesecake without an electric mixer you just have to work a lot harder! It’s also best to whip the cream separately to make sure it’s thick enough! Either way – it will be delicious. You will adore the creamy and delicious taste because of HEAVENLY BISCOFF.


Decoration
Any decoration for the top of my cheesecakes are obviously completely optional. I like to drizzle the spread on top (best to microwave it for about 30 seconds), or I spread the spread all over… and now I think I have said spread too many times.
I use a 2d closed star piping tip for my whipped cream – which is double cream, lightly whipped with icing sugar. Squirty cream that comes out of a can should be avoided as it’s UHT cream and it will almost immediately deflate unless you are serving straight away.
The whipped cream is obviously optional too as I know lots of you aren’t a fan – and the biscuits are too! Obviously, the biscuits will go soft after a while, so if you prefer crunchy biscuits, you will want to leave those until last minute to serve.


No-Bake Biscoff Cheesecake!
Ingredients
Biscuit Base
- 300 g Lotus/Biscoff biscuits
- 125 g unsalted butter (melted)
Cheesecake Filling
- 500 g cream cheese (full fat)
- 100 g icing sugar
- 250 g Biscoff spread (smooth/crunchy)
- 1 tsp vanilla extract
- 300 ml double cream
Optional Decorations
- 150 ml double cream
- 2 tbsp icing sugar
- 75 g Biscoff spread (melted)
- Biscoff biscuits
Instructions
- Blitz the biscuits for the base in a food processor until they're a fine crumb. Mix with the melted butter and press down firmly into an 8"/20cm deep springform tin.
- With an electric mixer (I use my KitchenAid) mix the cream cheese, vanilla, icing sugar and Biscoff spread until smooth.
- Mix in the double cream and whisk until its thick and holds itself completely! (Don't whip it too fast, slow and steady wins the race). Alternatively, you can whip the cream separately to stiff peaks and fold through!
- Spread the mixture evenly over the biscuit base and chill in the fridge for at least 5-6 hours, but preferably overnight.
- Remove from the tin and decorate how you like.
- I whipped together the double cream and icing sugar and piped it on, adding a biscoff biscuit per slice and drizzled over some melted biscoff!
Video
Notes
- I updated this post in May 2017. The original recipe used:
- 150g of digestives
- 150g of Lotus biscuit
- 150g unsalted butter
- And 2x 280g of the Philadelphia cream cheese
- For this recipe you can use either mascarpone or Philadelphia, both work perfectly. However, either MUST be full fat
- You might find it easier to melt the spread for 10 seconds before you try and decorate with it
- This cheesecake will last for 3 days in the fridge, once set.
ENJOY!
Find my other Cheesecake & Biscoff Recipes on my Recipes Page!
You can find me on:
Instagram
Facebook
Pinterest
Twitter
Youtube
J x
© Jane’s Patisserie. All images & content are copyright protected. Do not use my images without prior permission. If you want to republish this recipe, please re-write the recipe in your own words and credit me, or link back to this post for the recipe.
SaveSave
Hi do you use a hand mixer? I’ve been using my stand mixer for this and it just doesn’t seem to get to a thick consistency like yours looks? Thanks x
I make them all with a hand or stand, I’ve made this one several times with both. The type of mixer doesn’t really have an effect on it – but if it’s not thick it either means it’s over whisked or under whisked. Adding gelatine would 100% solve the issue, or chilling the mixture and trying to re whip!
Thank you for your reply 🙂 thinking about it now it will most likely be over whisked as going from what you say around 30 seconds I definitely did it for longer to see if it would get thicker, so this is where I’ve gone wrong :/ thank you I’ll keep trying x
Ahh it definitely happens – next time whip the cream separately, and see if it works better for you!!
I’m having the exact same issue at the moment. Thank you for asking the question and thank you Jane for the recipe & answering to the question. It’s in the fridge for re-whipping as we speak. I cannot wait to taste it!!
Hi, i would love to try the recipe and i only have a 6 inch pan, do you have the measurements for a 6 inch pan?
Just use half of the recipe!
Hello! I tried this recipe last week, and I loved it! The cheesecake was amazing! I loved the fact I didn’t have to use gelatine too like you do with other cheesecakes, as I fond it a hard ingredient to use. Personally I added more biscuit in the base because I love the base in any cheesecake, but that’s just me! Delicious creamy cheesecake that everyone would love! Can store in freezer too, delicious as it comes like an ice cream cake
I used this quantity to make 12 miniature cheesecakes using a loose-bottomed muffin tin for a family afternoon tea. They went down an absolute storm, and I keep getting asked to make more. Love this recipe!
Hi I love this recipe and I’d be quite an experienced baker and often made different types of cheesecakes but the first time I did this it was so sloppy I want to try again any suggestions ?
I would just say swap up the way you did it – for example if you whipped the cream separately, try adding it to the mix instead or vice versa! Or, you can use a setting agent such as gelatine and it will definitely set!
I first made this cheesecake for an afternoon tea for my partners mum and it was a massive hit. This was before I got my electric mixer. It was still very easy to do even by hand. I’ve made it again for my partners birthday – at his request – and it was once again a hit. This time it was a doddle thanks to my new mixer. I thoroughly recommend this to anybody who loves a bit of cheesecake.
Made this a few times and it’s delicious. Today I have gone cheap and got all my ingredients from Aldi. I did use biscoff spread but their biscoffesque biscuits are amazing and half the price. During this time when money can be tight this is just a wee heads up for those on a tighter budget 🙂
Another delicious cheesecake and very easy to make.
Hello,
I was wondering what quantity of mixture I would need for a 10’ tin?
I would use another half of the recipe – so 1.5x the recipe! Although, because of the amount, I would either also use a setting agent like gelatine, or whip the cream separately because of the volume! x
I made this during lock down it was brilliant, however I couldn’t get the base out of the tin! Should I be lining the tin with grease proof or grease the tin? Or did I not leave it to set long enough. I only had 4 hours. Hope you can help!
Amazing that the cheesecake managed to set in four hours! If you froze it though to make it set quicker, that can sometimes make the base stick more. You can line it if you want, but I don’t – I just use a small knife and a cake lifter to get it off!
Hello I will be trying this recipes tomorrow just for me and my mum and I was wondering if I can half all the Ingredients as it might be too much just for the two of us thank you!
Yes for sure – half is about a 6″ cheesecake x
I made this cheesecake the other day and it looked and tasted amazing! Looking forward to making it again soon. I followed the recipe exact and it set fine. Thanks for your recipe and method, really easy to follow and really great end result! Delicious 😋 😍
Ahh yay! So glad you liked the recipe! X
I made this last weekend for dessert after a family bbq. It went down fabulously well. The filling was a little wobbly to what I’d hoped but it all tasted delicious. I will definitely make it again one day. I decorated it the same as your photo.
😍😍😍
such a great recipe! made it for the first time today for my brothers 19th birthday, and it was amazing! will have to make this again soon!