
Jane's Patisserie » Recipes » Best Baking Recipes » Vanilla Cake – Back To Basics!
Vanilla Cake – Back To Basics!

*This post may contain affiliate links. Please see my disclosure for more details!*
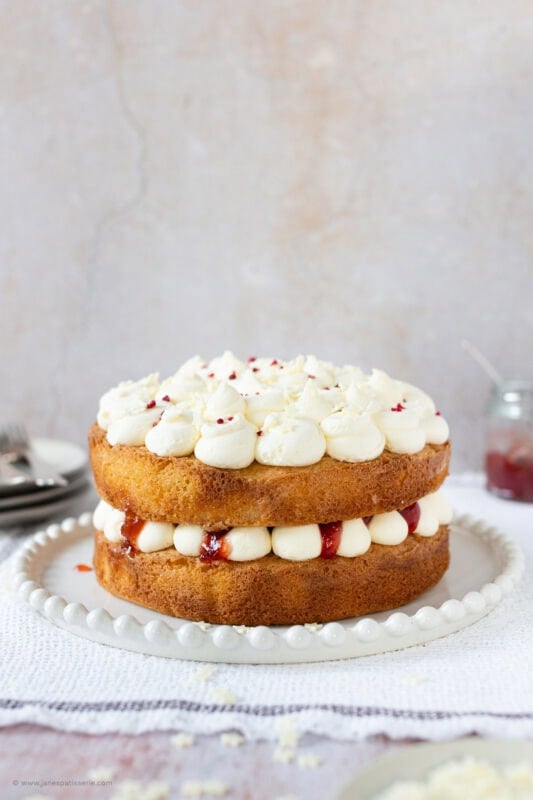
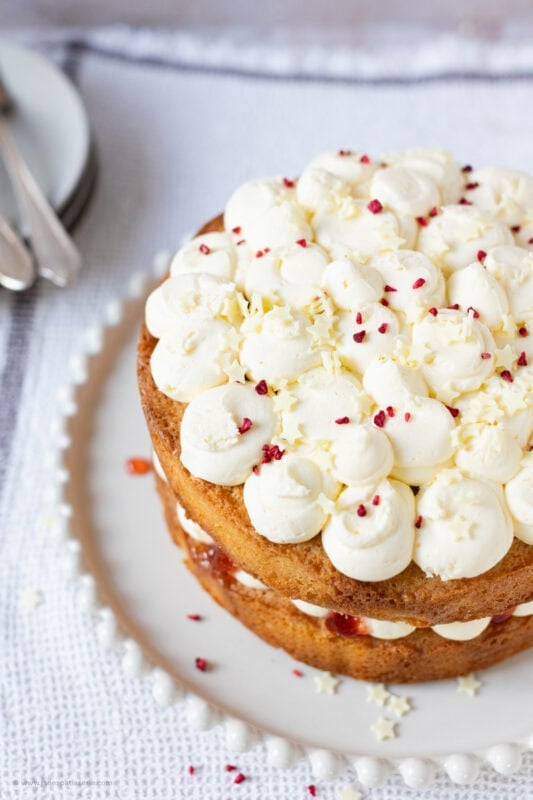
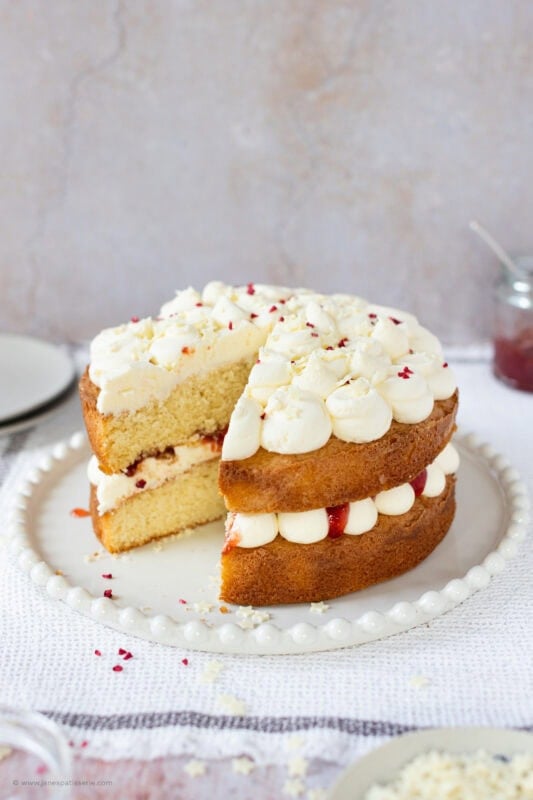
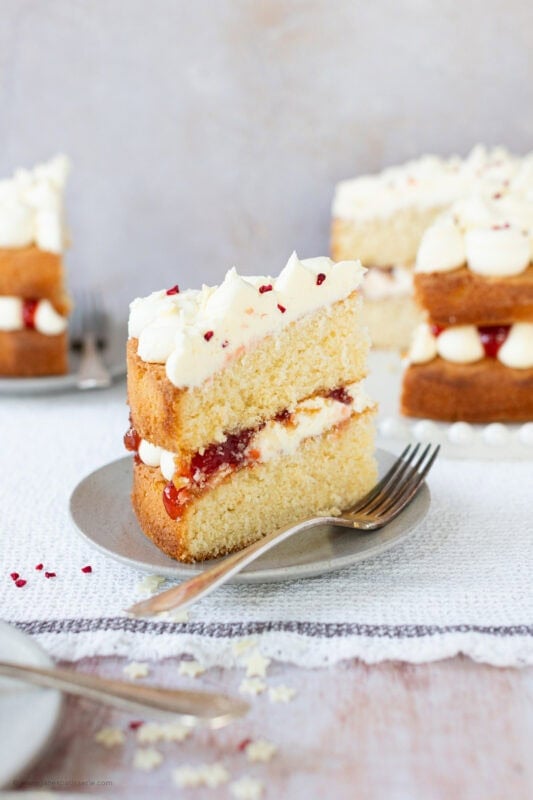
This timeless back-to-basics vanilla cake features two perfectly balanced, ultra-fluffy sponge layers sandwiched together with vibrant strawberry jam and smooth vanilla buttercream. Requiring just 10 minutes of active prep time and 30 minutes of baking, this foolproof 14-slice classic is the ultimate foundational recipe for bakers of any skill level.
Notes from The Patisserie
Back in 2018, I thought I would start a new series on my blog – ‘back to basics’. As much as I hope that all my recipes are simple and doable by anyone of any baking ability, I know that some are not. Or, some people do just want to learn the basics – and I want to help with that.
I thought that I would go for an absolute classic for my fourth instalment, a vanilla cake. This beauty is a two layer vanilla sponge cake, with vanilla buttercream frosting, and one of my favourite jam flavours… strawberry!
Okay, so back to basics has potentially gone a little bit too basic now, with a vanilla cake… but I’ve had endless requests. I do have a Victoria sponge recipe on my blog already, but this a two layer beauty and potentially explained in a much better way.
The sponge science
This is basically the most simple yet most scientific of cakes. It only really takes four ingredients to make something DELICIOUS, but you have to get it right. It doesn’t really matter whether you use a two egg recipe, three egg, four egg etc… as long as the ratios are equal.
- Butter – I use unsalted butter but you can use baking spread too
- Sugar – the best sugar for a back to basics vanilla sponge
- Flour – self raising flour will give the lift in the sponge we are looking for
- Eggs – I use medium eggs
- Vanilla – I use vanilla extract to cut through the sweetness of the sugar
There are obviously other factors that are involved with getting the perfect cake – but really the ratio, how you mix it, and the oven being the correct temperature is so important. I use a fan oven, so I bake my cake at 160ºc. As my oven is new, it helps so much, but with other ovens I have used an oven thermometer to make sure my oven is correct before baking – as ovens can be drastically out.
Basic method and ingredient swaps
If you know your oven is at the right temperature – just make sure you mix it correctly. I switch between the all in one method, and the beating sugar and butter first method – but in general, I find the beating the sugar and butter together method is better for the most.
Usually I use my Kitchenaid mixer with the scraper paddle attachment for a majority of my baking – and all my cake mixes and buttercreams. I don’t use a whisk, as that creates too much air, and can be quite faffy – but if you have just a handheld mixer, then the whisk attachments for those are fine.
You can easily make a cake mix and such with just your hand, a bowl and a spatula, but for buttercream it does take a bit more welly to get it just perfect! You could go the whole hog and make your own homemade jam if you want, but I just thought I would stick with this recipe being about the actual cake.
If the butter is too cold for the cake, it can make the cake mixture a little lumpy. I usually use room temperature unsalted butter (the kind you get in foil), or baking spread for cake sponges. Either work absolutely fantastically! However, for the buttercream, you must NOT use baking spread. Only use unsalted butter for the buttercream – otherwise it can split or taste horrible.
FAQs
How can I ensure my oven temperature is completely accurate?
Since built-in dials can be wildly inaccurate, hanging an inexpensive standalone oven thermometer on your centre rack is the best way to verify the true temperature before your tins go in.
Why should I weigh the batter when dividing it into the tins?
Using a digital kitchen scale to divide the batter evenly (roughly 500g per tin) ensures both layers bake at the exact same rate, preventing one cake from over-baking while the other under-bakes.
Can I substitute self-raising flour with plain flour?
Yes, but you will need to add two level teaspoons of baking powder to your 250g of plain flour and sift them together thoroughly to replicate the uniform rise of self-raising flour.
My buttercream feels too stiff to spread cleanly; how do I fix it?
Simply beat in a single teaspoon of warm water or milk at a time to instantly loosen the mixture and achieve a silky, spreadable consistency.
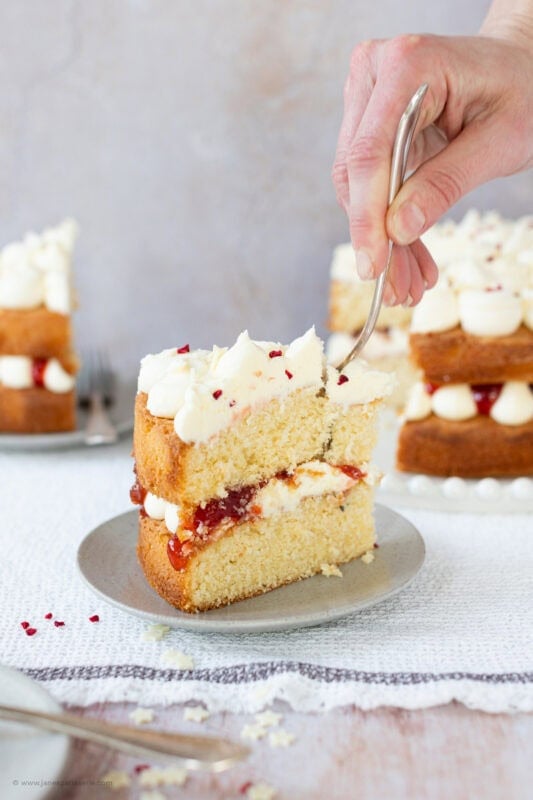
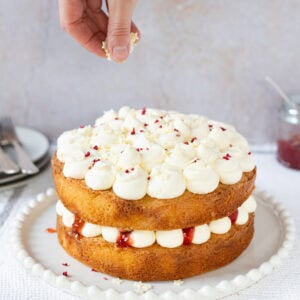
Vanilla Cake – Back To Basics!
A delicious two layer vanilla cake with vanilla buttercream and strawberry jam!
Print
Pin
Rate
Servings: 14 Slices
Ingredients
Cake!
- 250 g unsalted butter
- 250 g caster sugar
- 250 g self raising flour
- 5 medium eggs
- 1 tsp vanilla extract
Buttercream!
- 200 g unsalted butter (room temp)
- 400 g icing sugar
- 1 tsp vanilla extract
Extras!
- 200 g strawberry jam
- sprinkles
Instructions
- Preheat your oven to 180ºc/160ºc fan and line two 8"/20cm tins with parchment paper, and leave to the side.
- Beat together your butter and sugar for 3-4 minutes until light and fluffy!
- Add in your self raising flour, eggs and vanilla and beat again for a a couple of minutes until smooth.
- Try not to over beat – mix until it comes together and is smooth
- Split the cake mix between the two tins. I weigh it to make sure its even – each mix should weigh 500g each (roughly)
- Once in the tins, bake in the oven for 30-35 minutes, or until baked through. I check my cake is baked by using a skewer, and listening carefully to see if it bubbles!
- Once baked, leave to cool in the tin for 10 minutes, and then transfer to a wire rack to finish cooling.
- To make the buttercream, make sure your butter is at room temperature.
- Beat the butter on its own for 3-4 minutes, I use the paddle attachment.
- Once the butter is nice and supple, add the icing sugar in 1/2 at a time, and beat fully before adding any more in.
- Add in the vanilla, and beat again for 3-4 minutes until it's all come together.
- Carefully pipe or spread half of your buttercream onto the first cake, and then top with some jam.
- Add the second sponge on, and then spread the rest of the buttercream on top.
- Decorate with your favourite sprinkles, and enjoy!
Notes
- This cake will last for 3 days at room temperature, in a cake box.
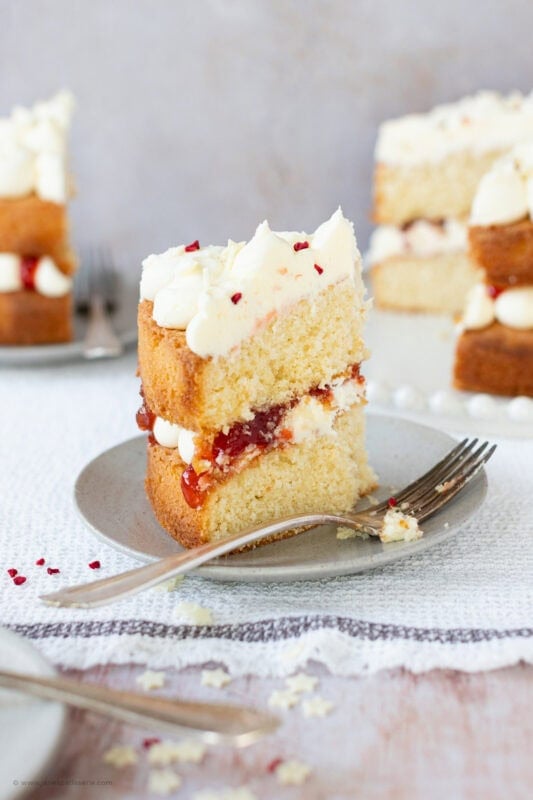
Storage and freezing
This classic vanilla cake stores beautifully and will remain completely soft and delicious for up to 3 days when kept inside a standard cake box or airtight container at room temperature. Avoid refrigerating this cake, as the cold air will pull moisture directly out of the sponge layers and turn them dry and crumbly.
If you want to get a head start on an upcoming celebration, you can wrap the un-iced, fully cooled sponge layers tightly in a double layer of plastic cling film and freeze them for up to 3 months.
Other ‘back to basics’ recipes
My first part of the back to basics series was my triple chocolate brownies, followed by my no-bake vanilla cheesecake, and then thirdly the chocolate cake. I figured doing a vanilla recipe would fit with the system and alternating between the two flavours.
Hi Jane I d like to use this recipe for my daughters wedding cake, can you tell me how to adjust the ingredients for a 10 inch cake please.
Sharon x
I was wondering this, so just Googled it and it says to multiply all the ingredients by 1.5
It was a really good cake i used it for my birthday cake
Hi, would you be able to tell me how I can adapt this recipe to make a 3 layer 10″ cake please
Thankyou!
Hi Sonya, I am just seeing if you managed to make this into a 3 layer 10inch cake recipe? X
Hi just wondering would this cake be suitable to cover in fondant icing?
Hi, im looking at making a 2 layer 4 inch cakes using your back to basic vanilla recipe, but I am unsure on how much to reduce the recipe by. Can you help please?
Hi, I want to make this into a 12” two layer cake and was wondering how much ingredients I’d have to use instead? I love this recipe!
Hi Jane. Would this work as a gluten free? Simple flour swap?
I only have one cake tin so going to make each of half of the cake at separate times. I’m going to half the ingredients how many eggs should I use of each half of the cake?
Hi, I was wondering if you would ever dye this cake? And if so how much sugarflair paste would you use?
Thanks 🙂
Hi,
I want to dye this cake using the sugarflair paste. Would this work and how much dye would you recommend I added to this recipe?
Thanks,
H
What quantities do I need to make a 3 tiered cake?
Do you mean 3 tiers or 3 layers. If it’s an extra layer I use a calculator to divide the mix into 3 and add an extra 3rd. I
also weigh the mix and divide evenly between tins.
What I should have said is you can calculate what half the mix would be and use an extra half for one extra layer
Hello,
Can I make this cake with 2 6 inch pans?
Thanks Claire
Hi Jane, I’m planning on making this cake as my daughters birthday cake, planning to fill the inside with smarties and also cover the cake with buttercream. can I store in fridge overnight?
As long as the cake is completely covered in buttercream it should be fine to store in the fridge overnight, but as soon as it’s cut into the cake will start to dry out. It’s also best to bring back to room temperature before eating x
Hi Jane I would like to adapt this cake to a 10inch, how much ingredients would I need…. thank you
1.25 x so times everything by 1.25. I did this for her cookie cake recipe x
I want to make a 3 layer cake was going to do it in 2 batches can I use the rest of the batter to make cupcakes?
Hello
Are you able to tell me how I would convert this into a
10 inch cake please?
Hi Jane,
Can I divide these ingredients in half to make 2 6in cakes?
Want to make this for my son’s 1st birthday 🎂
Absolutely I split between 2 tins and it works really well 😊
Hi Jane, I used fresh bags of ingredients, temp was perfect on the oven and as far as I know I didn’t over beat the mixture. Somehow I can’t seem to get it to rise 🫣 any advice?
Try the coronation Victoria sponge recipe as that is a deeper sponge, as this cake isn’t meant to rise loads. It can be your oven setting is wrong, or there isn’t enough air in the mix x