
Jane's Patisserie » Recipes » Best Baking Recipes » Spring Pavlova!
Spring Pavlova!

*This post may contain affiliate links. Please see my disclosure for more details!*
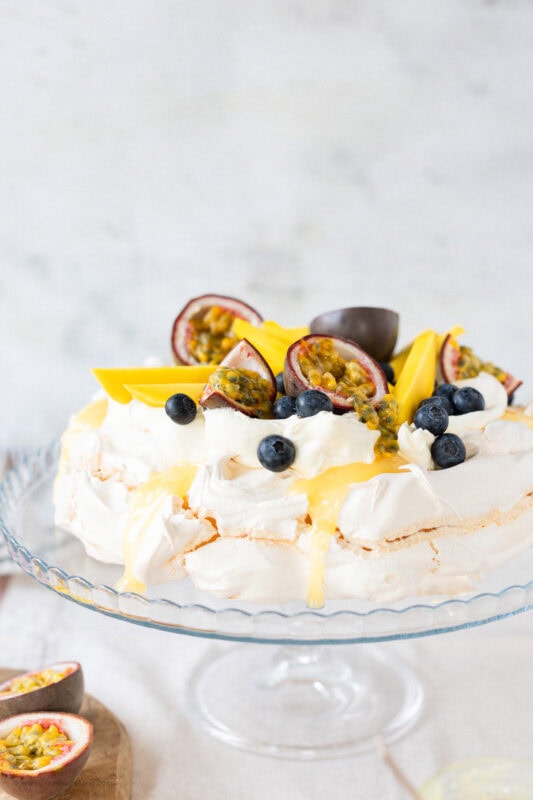
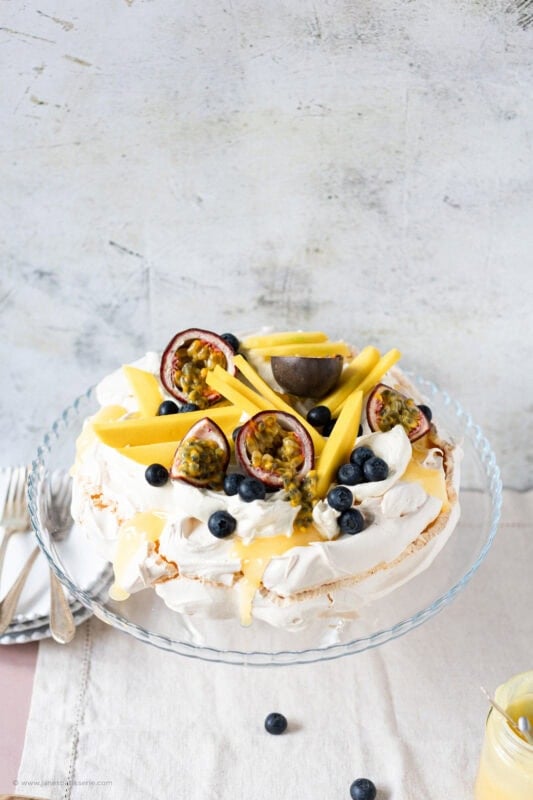
This vibrant spring pavlova features a crisp, glossy meringue shell with a thick, marshmallow-like centre, piled high with softly whipped cream, zesty lemon curd, and seasonal fresh fruit. Prep takes 15 minutes (plus cooling time), it bakes in 1 hour, and the base can be made a day in advance for a stress free, show stopping dessert.
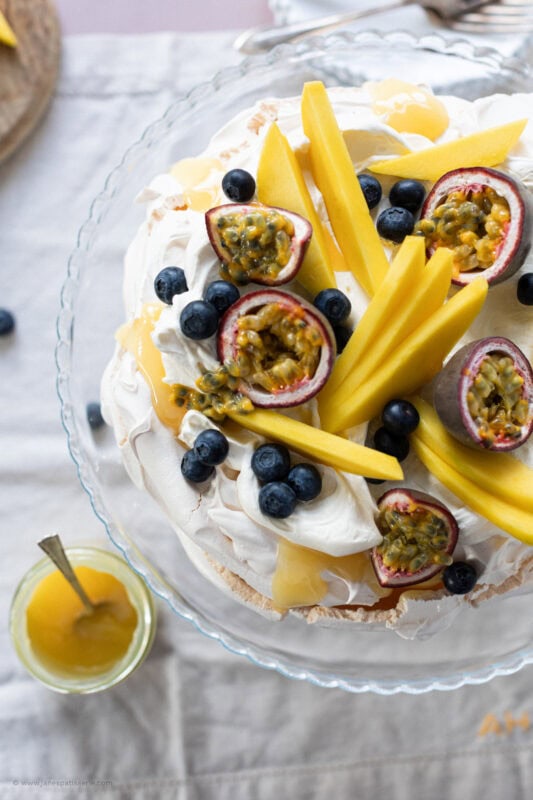
Notes from The Patisserie
Meringue is fundamentally a structural emulsion of air bubbles trapped inside egg white proteins. Because this structure is highly sensitive, total cleanliness is paramount to your success.
Before you break a single egg, ensure your mixing bowl and whisk attachments are spotlessly clean and completely free from grease. Even a microscopic speck of fat or a tiny droplet of egg yolk, will coat the whites and prevent the protein strands from bonding, leaving you with a flat, watery liquid that refuses to whip. For the absolute best results, use a glass, copper, or stainless steel bowl, and wipe it down with a splash of lemon juice or white vinegar on a piece of kitchen roll before starting.
When incorporating your caster sugar, patience is your greatest asset. You must add the sugar slowly, roughly one teaspoon at a time, while the mixer is running on high speed. This allows the sugar crystals to dissolve completely into the moisture of the egg whites. If you dump the sugar in too quickly, it will weigh down the foam, resulting in a gritty mixture that will weep syrupy droplets in the oven.
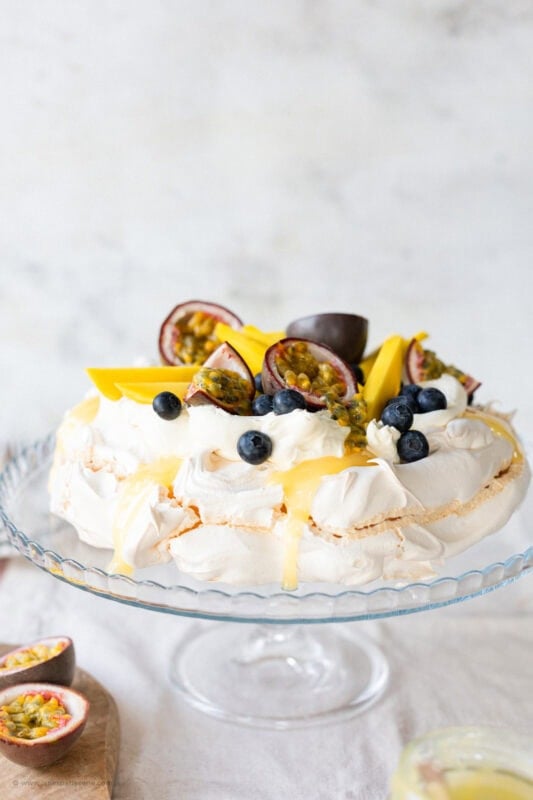
Ingredient notes and tips
The ingredients are simple yet effective to making a tall fluffy pavlova, I often find that less is more with these ingredients:
- Egg – I am using large eggs here rather than the usual medium eggs – egg whites only. There must be NO egg yolk in the bowl as this can ruin a pavlova very quickly.
- Sugar – caster sugar incorporates perfectly into the egg whites without any grainy texture
- Vinegar – white win vinegar is essential as a stabiliser along with the cornflour
- Cornflour – this small amount goes a long way stabilise your meringue (cornstarch in the US)
- Vanilla – I use vanilla bean extract here
Whilst the ingredients are important, making sure that the bowls and whisks that you are using are spotlessly clean will also help.
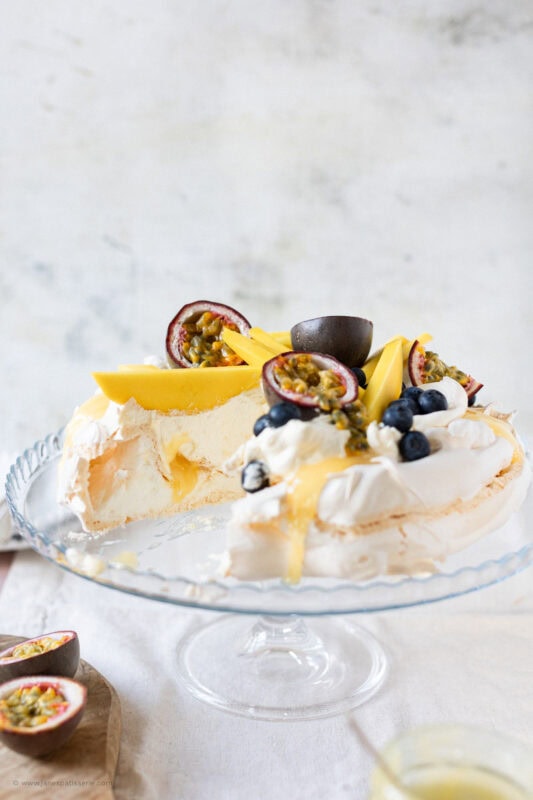
Making the meringue
While a standard French meringue contains nothing but egg whites and sugar, a true pavlova requires two secret structural stabilisers: white wine vinegar and cornflour.
The acid in the vinegar slows down the coagulation of the egg proteins. This makes the foam more elastic and less likely to collapse. Meanwhile, the starch in the cornflour binds to any remaining liquid, preventing the interior of the meringue from drying out completely. Together, these two simple additions ensure your pavlova achieves its signature contrast: a delicate, paper-thin crisp exterior shell wrapped around a dense, pillowy, marshmallow-like core.
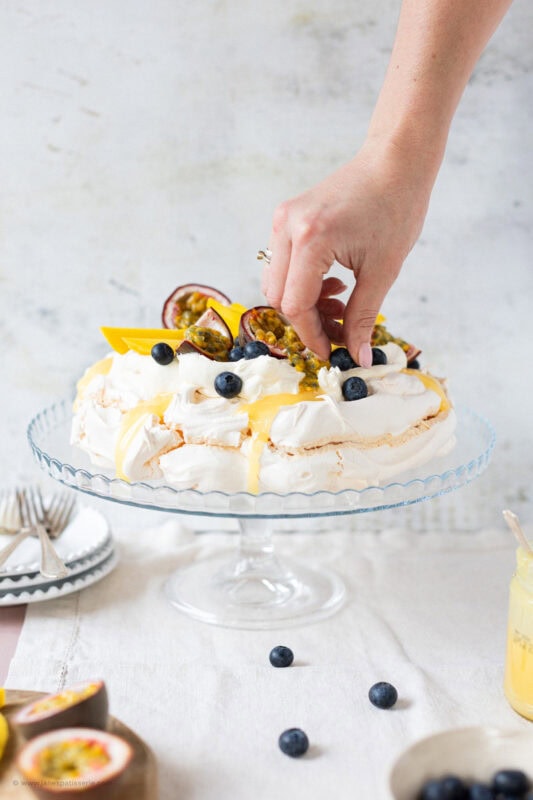
Mastering the oven cool down
The most critical phase of baking a pavlova actually happens after the oven has been turned off. Meringues are incredibly susceptible to thermal shock. If you take a hot pavlova out of the oven directly into a cool kitchen, the sudden drop in temperature will cause the air pockets inside to contract rapidly. This sudden temperature drop will lead to severe shattering, a collapsed centre, or a completely weeping base.
To prevent this, once your pavlova has baked for its full hour, simply turn off the heat and leave the oven door completely closed. Let the meringue cool down slowly inside the oven for at least 4 hours, or ideally overnight. This slow, controlled reduction in temperature allows the delicate outer shell to fully set and dry out without losing its structure.
It is completely normal for a large pavlova to develop small cracks on its surface as it contracts. Do not panic! This is the rustic nature of the dessert. Any cosmetic imperfections will be completely hidden under your generous clouds of whipped cream.
FAQs
How can I tell if the sugar has completely dissolved into the whites?
Take a tiny bit of the whipped meringue paste and rub it gently between your thumb and forefinger. If it feels completely smooth and glossy, the sugar has dissolved. If it feels at all gritty, continue whisking on high speed for another minute or two before testing it again.
Why is my pavlova weeping sticky syrup droplets?
Weeping is caused by undissolved sugar attracting moisture, or from baking the meringue on a highly humid, rainy day. Ensuring you add the sugar meticulously one teaspoon at a time. Let the pavlova cool completely in the dry environment of the closed oven will stop this from happening.
Can I use granulated sugar instead of caster sugar?
Caster sugar is essential for meringues because its crystals are exceptionally fine. Allowing them to dissolve quickly into the egg whites. Standard granulated sugar crystals are too large and heavy. They rarely dissolve fully during whisking, which almost always leads to a gritty texture and weeping in the oven.
Can I make the meringue base several days in advance?
Yes! You can bake the meringue base up to 48 hours before you plan to serve it. Once it has cooled completely in the oven. Store it uncovered in a cool, completely dry room, or seal it gently inside a large, airtight container. Do not add the cream or fruit until right before serving.
Spring Pavlova Recipe
A delicious spring pavlova that would be a massive hit round the dinner table – decorate with whipped cream & your favourite fruit
Print
Pin
Rate
Servings: 10 people
Ingredients
Meringue
- 5 large egg whites
- 300 g caster sugar
- 1 tsp white wine vinegar
- 1 tsp cornflour
- 1/2 tsp vanilla bean extract
Filling and Decoration
- 300 ml double cream
- 2 tbsp icing sugar
- fruit (I used mango and passion fruit)
- 1 jar lemon curd
Instructions
Meringue
- Preheat your oven to 150ºc/130ºc Fan. Draw out a large circle onto a piece of parchment – roughly 10" in size and then place the parchment paper onto a large baking tray!
- Whisk the egg whites with a stand mixer or electric whisk until they form stiff peaks.
- When you reach this stage, start adding the caster sugar 1tsp at a time whilst still whisking.
- Once all of the caster sugar is incorporated it should be glossy, at this point, whisk in the white wine vinegar, cornflour, and vanilla bean extract.
- Whisk for a further few minutes to combine the ingredients
- Dollop the meringue onto the parchment paper, within the circle you have drawn. Fluff with a fork to have a texture to the meringue.
- Bake in the oven for 1 hour – turn off the heat of the oven and leave to cool completely in the oven, without opening the door. I bake my meringues late at night, and leave them to cool overnight to make things easier
Filling and Decoration
- Prepare your fruit – chop up any fruits you are using. I chose the mango, and I spooned the inside of the passion fruit into a bowl!
- In a separate bowl, whip up the double cream with the icing sugar.
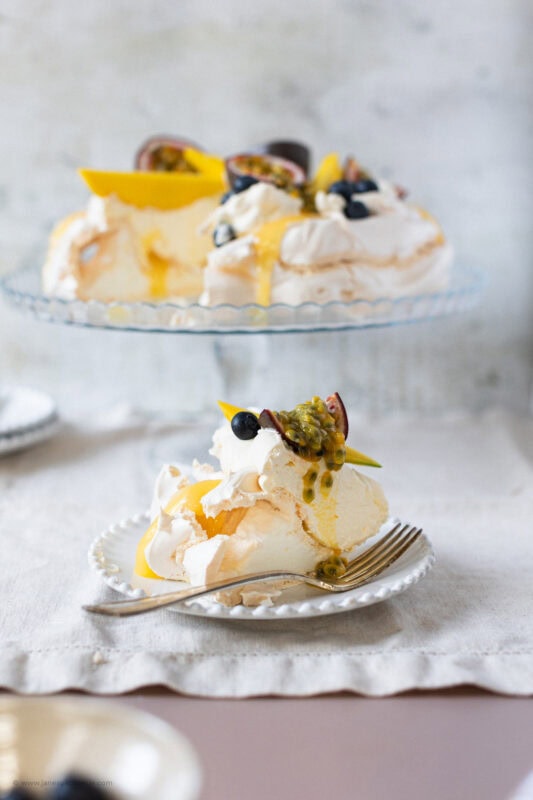
- Spread/dollop the lemon curd carefully over the meringue, then spread/dollop the cream onto the meringue as well on top of the cream, and then add the fruit on top!
Notes
- This dessert is best served on the day of making, due to the fresh cream and fruit
- The meringue will last for weeks, at room temperature in a container.
- I used this basic baking tray
- I use this vanilla extract
- I use this baking parchment
Storage and freezing
This pavlova loaded with fresh whipped cream, lemon curd, and juicy fruit is at its absolute peak of crisp perfection the moment it is put together and should be eaten entirely on the day of assembly. Leftovers should be stored inside an airtight container in the fridge for up to 24 hours; while the flavour will remain absolutely delicious, the moisture from the cream will cause the crisp meringue shell to soften and lose its crunch. Because of the delicate, high-moisture marshmallow interior and the fragile nature of the dried egg-white shell, neither the un-iced meringue base nor the decorated pavlova can be frozen, making it a dessert best enjoyed fresh from the oven cool-down.
All things meringue
I know that meringues can be a bit daunting. Once you know how, they are easy. There are my eton mess with homemade meringues & eton mess traybake recipes up already and I use mini meringue in them, but you can easily do whatever you like with meringue.
I also love my large easter pavlova that is quite new on my blog, they are all based on similar recipes just because I utterly adore my meringue recipe.
How do you store these?
In the fridge if decorated due to the cream x
How do you store these ready for the next day?
I want to make 2 pavlovas, can I double the recipe and bake them in the oven together, one on each shelf (I have a fan oven)? This recipe is the best, I use it all the time. X
Yes, that should be fine in a fan oven! x