Jane's Patisserie » Recipes » Best Baking Recipes » Classic Buttery Scones!
Classic Buttery Scones!

*This post may contain affiliate links. Please see my disclosure for more details!*
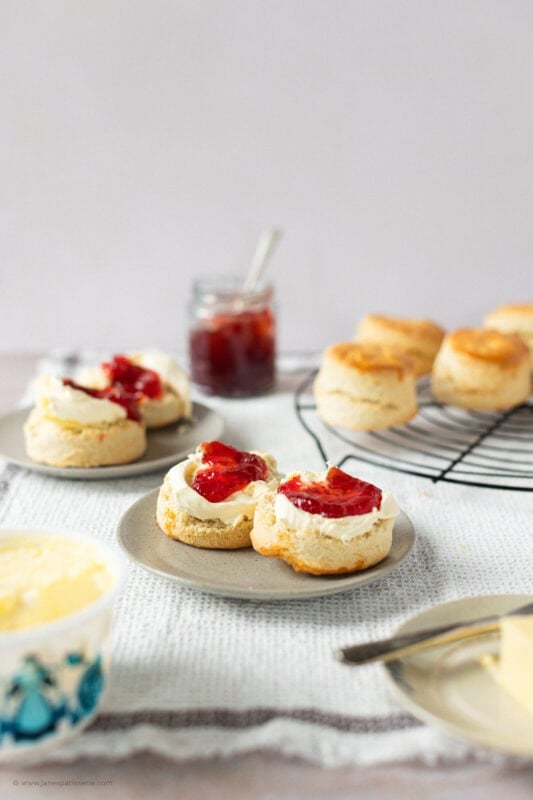
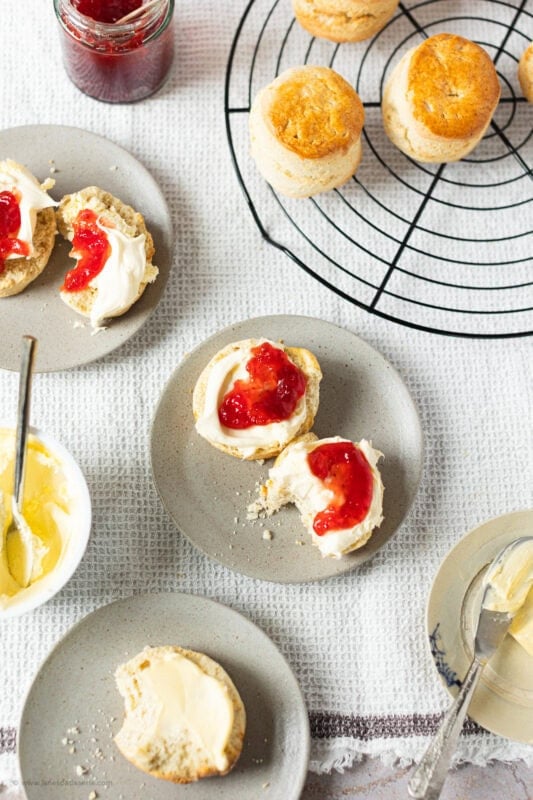
These classic buttery scones are light, tall, and beautifully flaky, the perfect centre piece for a traditional British cream tea. Prep takes 30 minutes, they bake in just 10 minutes on a preheated tray, and the recipe features a clever milk-and-lemon trick that creates an instant buttermilk reaction for a sky-high rise.
Ingredient notes and tips
The wonderful thing about such a thing as this is that you can create so many different flavours – whether they are savoury or sweet. Therefore I decided to start off with a basic and buttery simple sweet scone so you can try to adapt it yourself, or you know you can follow this recipe to have a basic scone.
- Butter – it’s important to use a block butter for a scone for the best bake and taste
- Flour – I tend to use self raising flour, instead of plain, but you can use plain flour and total the baking powder to two teaspoons instead
- Baking powder – I like to add a little baking powder still, even with self raising flour, but it is totally optional
- Sugar – you want to add the sugar for a sweet scone, and typically I use caster sugar for a basic recipe but golden caster sugar works well, also.
- Salt – the salt helps with the flavour of the scone and the bake overall, but is optional
- Milk – I will always recommend a full-fat milk for the best results
- Lemon – the lemon juice to almost create it’s own buttermilk in the scone mix
- Vanilla – A little vanilla extract for flavour

Milk vs buttermilk
There is an ongoing debate in the baking community regarding whether standard whole milk or buttermilk produces the best scone. This recipe offers a clever hybrid method: we use nutrient-rich whole milk combined with a teaspoon of fresh lemon juice.
The lemon juice curdles the milk slightly, creating an immediate, faux-buttermilk mixture. The acid in the lemon juice reacts aggressively with the baking powder and bicarbonate elements in the flour, releasing carbon dioxide gas bubbles that expand the dough while it bakes.
Warming the milk slightly before mixing allows the liquids to bind with the flour starches much more efficiently, meaning you can bring the dough together with minimal handling. Always add your liquid gradually; depending on the humidity of your kitchen, you may only need 100ml of the allocated milk to form a cohesive dough.
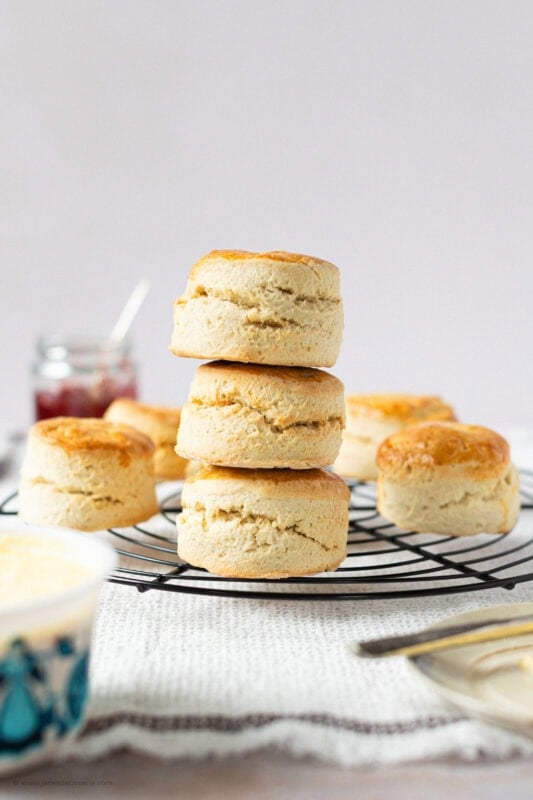
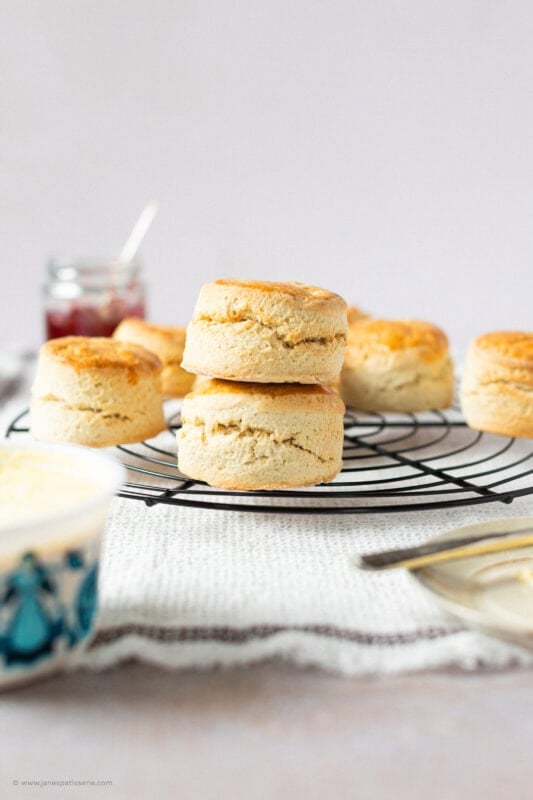
The perfect scone rise
Achieving a light, airy texture with a dramatic, clean split down the middle comes down to understanding your ingredients:
The butter rule: You must use a firm, cold block butter… never a soft tub baking spread. As the cold pockets of butter melt during baking, the water trapped inside evaporates instantly. This creates pockets of steam, which are responsible for creating those signature flaky, tender layers inside the scone.
The flour & raising agents: While standard self-raising flour provides a solid foundation, adding a tiny touch of extra baking powder gives the dough an additional boost, forcing it to expand upward rapidly when it hits the heat.
Making the scones
How you handle the dough right before it enters the oven dictates exactly how it will rise:
The golden rule: Press the cutter straight down and pull it straight up. Never twist the cutter. Twisting the cutter smears the outer edges of the dough across the cuts, effectively sealing the layers together. This prevents the scone from expanding evenly, causing it to either rise lopsidedly or fail to rise at all.
Ditch the rolling pin: Rolling pins apply heavy, downward compression that flattens out the delicate internal air pockets you’ve just built. Instead, gently pat the dough out onto a floured surface using your hands until it is quite thick, around 4cm to 5cm.
The floured cutter: Dip your round cutter into excess flour before every single cut to prevent the wet dough from sticking.
FAQs
Can I use plain flour if I don’t have self-raising flour?
Yes! If you only have plain flour on hand, swap the 350g of self-raising flour for 350g of plain flour, and increase the baking powder to 2 full, level teaspoons, sifting it thoroughly into the dry mix.
Can I add dried fruit or chocolate chips to this base recipe?
Absolutely. This is an exceptional base for customisation. If you want traditional fruit scones, fold in 75g of sultanas or raisins right after you achieve the breadcrumb texture. For a modern twist, you can swap the fruit for chocolate chips or dried cranberries.
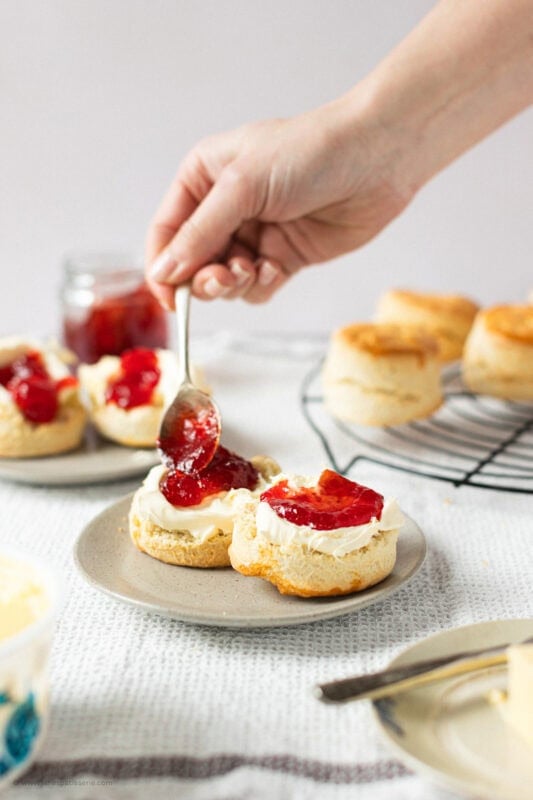
What is the correct way to assemble a cream tea: jam or cream first?
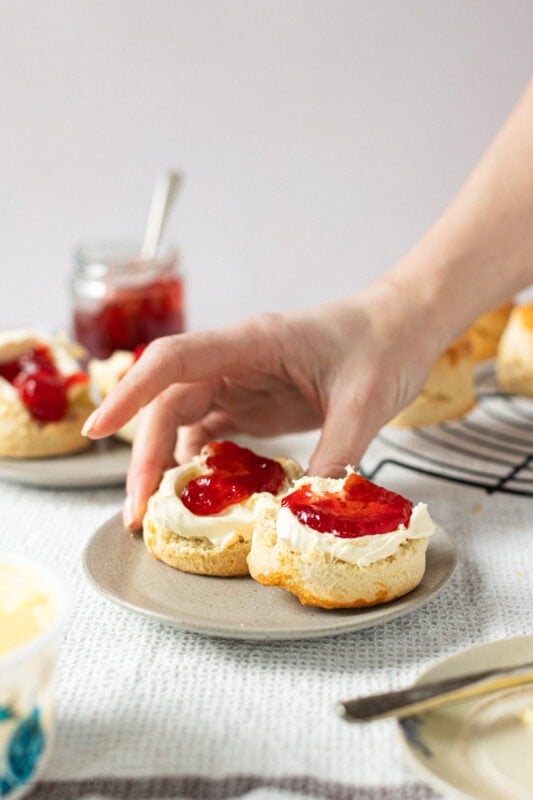
This depends entirely on where you are! The Cornish tradition dictates spreading the jam onto the warm scone first, followed by a dollop of clotted cream. The Devonshire method is the exact opposite: cream goes on first to act like butter, topped with a spoonful of jam. Both methods taste spectacular!
Why did my scones turn out dense and heavy?
This is almost always the result of overworking the dough. The more you knead, roll, and handle scone dough, the more gluten develops. This turns a light, short, cake-like texture into a tough, bread-like structure. Handle the dough as little as possible.

Classic Buttery Scone Recipe
Classic buttery scones that are delicious for afternoon tea, a delicious treat, or something simple.
Print
Pin
Rate
Servings: 8 Scones
Ingredients
- 100 g unsalted butter (cold/cubed) (not baking spread)
- 1 tsp baking powder (optional)
- 1/4 tsp salt
- 350 g self raising flour (plus extra for dusting)
- 50 g caster sugar
- 1 tsp vanilla extract
- 1 tsp lemon juice
- 100-150 ml whole milk (warm)
- 1 egg (to glaze)
To Serve (optional)
- jam any flavour!
- clotted cream
Instructions
- Heat the oven to 220ºc / 200ºc fan / 430ºf and place a lined baking tray in the oven to preheat.
- In a large bowl, rub the butter into the flour, salt, baking powder and sugar mixture until breadcrumbs are formed.
- Alternatively, tip the flour, salt, baking powder, sugar and butter into a food processor and pulse until it resembles bread crumbs
- Add the lemon juice to the dry mixture with the vanilla
- Slowly add the warm milk. Mix in while you add in the liquid as you may not need all of it (I often only use 100ml or so)
- Dust the work surface with some flour and tip the dough onto it – fold the dough over a few times so it is smooth but do not over work it!
- Roll the dough out until it is about 4-5cm thick.
- Dip a 5cm round cutter into the spare flour and cut out the scones – you will probably get four out of the first go. Repeat this again till you finish up all the dough.
- Take the tray out of the oven carefully and place the scones onto it – brush the tops with the beaten egg so its glazed and bake in the oven for 10 minutes – leave to cool slightly when baked.
- Serve with clotted cream and jam for the stereotypical deliciously yummy scone!
Notes
- I often find these are delicious when still warm as it makes them lighter and fluffier – however they do last in an airtight container for 2-3 days
- I use this round cutter for scones
Storage and freezing
Scones are unequivocally at their absolute peak of perfection when enjoyed warm, straight from the baking sheet, but they will stay soft and delicious for two to three days when kept at room temperature inside an airtight storage container or a dedicated cake box. To revive day-old scones, simply slice them in half and toast them lightly, or warm them through in a hot oven for three minutes to restore their original fluffy texture.
If you want to prepare these well in advance, fully baked scones freeze exceptionally well for up to three months; allow them to cool completely, wrap them tightly in a double layer of cling film, and freeze. When you are ready to serve, thaw them fully at room temperature for an hour and warm them through in the oven before smothering them in fresh clotted cream and jam.
Related recipes
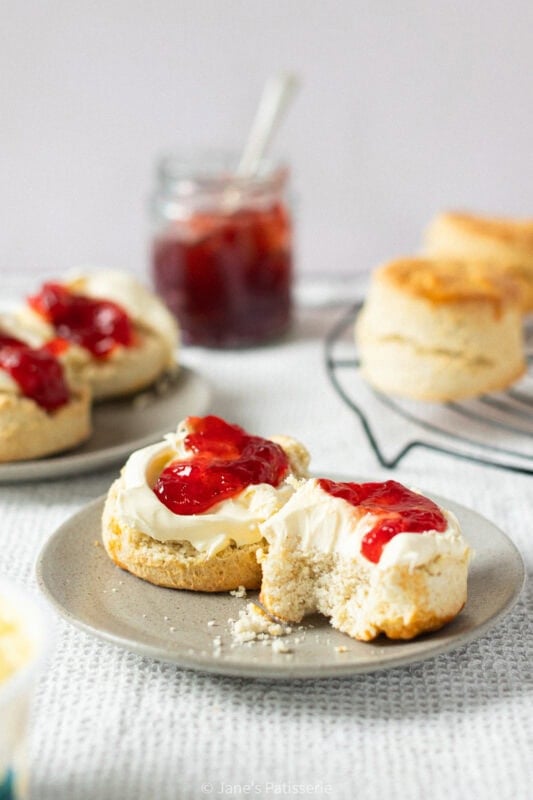
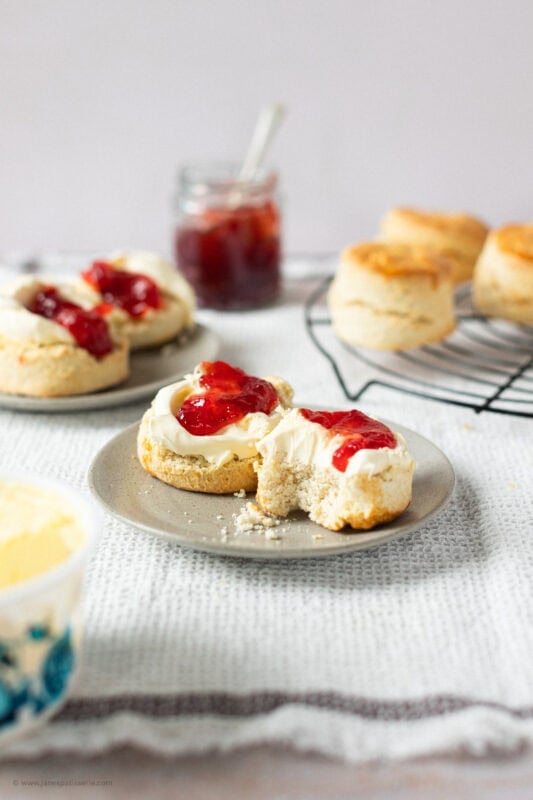
My white chocolate & cranberry scones has always been a popular one, but in my honest opinion? You can’t beat a scone that’s fresh out of the oven with some clotted cream and strawberry jam. It is DELICIOUS and its my favourite.
I have made lemon and blueberry scones, savoury cheese scones and even just the classic fruit scones. You can add chocolate to the mix, you can add spices – the possibilities are endless, but they all need a good base recipe like this one.
Going to make these on Friday (never made scones before and VE Day seems the perfect opportunity). However, I’d like to make 12 without doing them smaller. Would it be okay to just do 1.5 of all the ingredients and do it as one larger batch? Thanks in advance!
Yes that would be fine!!
Super tasty!! Had no whole milk so used semi skimmed but still tasted amazing.
Absolutely love all your recipes!
This was such an easy recipe to throw together! The scones were light fluffy and buttery everyone loved them. They also stored well. I’d definitely recommend this recipe!
Could you add raspberry and white chocolate to this recipe? If so, what quantities would you suggest?
Thanks in advance xx
Hi Jane,
Can you use buttermilk instead of whole milk?
Yes that should be fine! Leave out the lemon juice from the recipe.
Hi there, I made these scones last night and they are delicious! The recipe was so easy to follow.
How much calories is in one scone?
I don’t know I’m afraid.
Put all the ingredients into MyFitnessPal and it will work out the calories for you 🙂
Hi I was going to make these scones today but only have semi skimmed milk can I use this instead of whole milk? Thank you
I really would recommend whole milk in baking in general ask it just leads to a better bake, but it should be fine.
My 5yo Grandaughter made these with my help, 5 mins into the clean up I realised we hadn’t added the sugar 🙀 No point worrying, it was too late. We still filled them with jam and clotted cream, and to my surprise were still delicious. Winner all round!
I adore these scones. This recipe has never failed me!
Even my 80 year old grandfather who has been baking since he was a young boy was incredibly impressed with how soft and light they were.
Perfect recipe!
Awh thats amazing!!
Hi Jane I have made your scones a few times now and I must say they are fab. I was just wondering are you able to freeze these scones at all?
Yes you can do, but they’re always best fresh!
I thought that would be the case thank you xxx
Hello 🙂 is there anyway of making these chocolate scones? I know the obvious but wasn’t sure if adding coco powder would change the consistency?…ps – I may slightly addicted to your recipes x
You would have to take some of the flour out instead so maybe try taking 25g of flour out and replacing it with 25g of cocoa powder. However, it might be softer, so you might need to up it to 45g cocoa powder! x
Thank you Jane – I will give it a try and let you know how I get on 🙂 xxx
Do you have to use unsalted butter
I’d recommend it