
Jane's Patisserie » Recipes » Best Baking Recipes » New York Cheesecake!
New York Cheesecake!

*This post may contain affiliate links. Please see my disclosure for more details!*
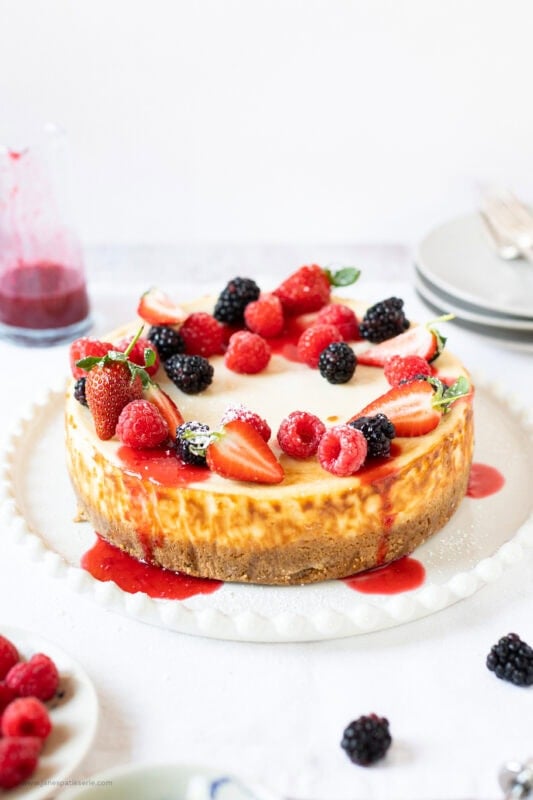
This baked New York cheesecake is rich, creamy, and perfectly set with a buttery digestive base and a smooth vanilla-lemon filling. It’s finished with a simple homemade berry coulis and fresh fruit for a proper show-stopping dessert.
It takes around 30 minutes to prep, 35 minutes to bake with additional overnight chilling. The key to success is gentle mixing, a slow oven cool down and a full over night chill to set perfectly.
What is a New York cheesecake?
A New York cheesecake is a baked cheesecake that’s rich, dense, and creamy compared to lighter no-bake versions. It typically uses full-fat cream cheese and sour cream for a smooth, tangy flavour and firm texture once chilled.
This version uses a slightly reduced 600g cream cheese base to keep it more manageable while still delivering that classic bakery-style result.
When I decided to try this recipe I was honestly completely stuck on where to start. I have eaten many New York style cheesecakes, or even baked cheesecakes but when I have tried to bake them when I was younger, they have just gone so awfully wrong.
My Baked Chocolate Rocky Road Cheesecake and Baked Gingerbread Cheesecake is always a success for me, but as they use different in the mix it is completely different to this. I spent ages and ages looking at recipes online and they are ALL so different I was confused.
Ingredients and tips
I decided to try out various other recipes and I will be honest here and say they didn’t work for me! Unfortunately, I found the way that the methods were written to be confusing, and the ingredients seemed far too much. I mean come on, 900g of cream cheese in one cheesecake?!
Therefore, I decided to go my own way with it, make it more realistic in my eyes and reduce the cheesecake down to an acceptable size. Oddly enough, using essentially 2/3 of the ingredients with some other alterations, it still took the same amount of time in the oven.
- Biscuits – Can be swapped for hobnobs or other biscuits if preferred
- Unsalted butter – The fat content provides the perfect texture to your base – you can use salted or a baking spread as well
- Cream Cheese – Always full-fat for structure (reduced-fat can split or set too soft)
- Sour cream – Adds tang and softness to the bake, can be swapped for natural yoghurt or greek yoghurt
- Eggs – I tend to use medium eggs, I have used 3x here
- Vanilla – Enhances the sweet flavour of the cheesecake
- Caster sugar – Provides that smooth, sweet taste and mixes in well leaving no grains
- Flour – Must be plain flour as we are not looking for rise here
- Lemon – adds that sharp taste to cut through the sweetness as well as helping the cheesecake set
- Fresh fruit – An optional extra to the finished cheesecake – adding in flavour and freshness
- Icing sugar – A good quality icing sugar won’t clump together in the coulis or make sugar clouds as you mix
How to stop your cheesecake cracking
You might know that I have an adoration for no-bake cheesecakes, and these are still my favourite… but my family had requested one of these beauties for SOOO long, and many of my readers had asked for some baked cheesecakes so I thought I would oblige.
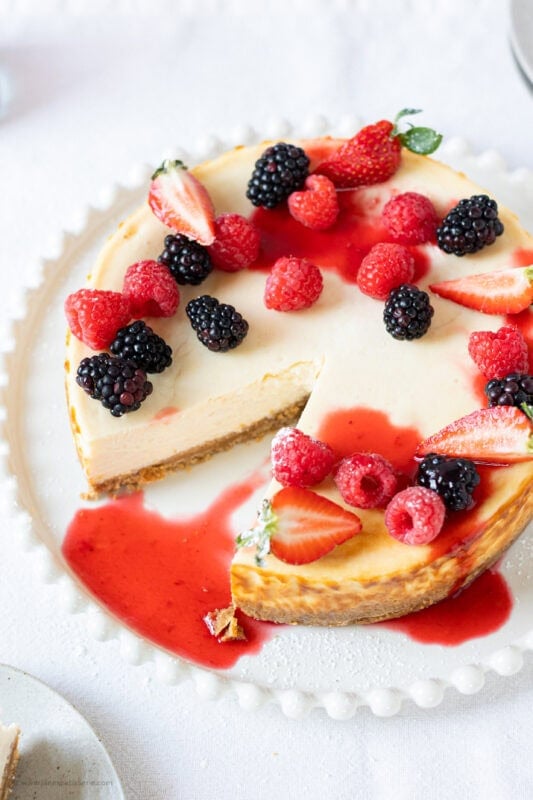
Yes, this sort of cheesecake is prone to having a crack when it comes out of the oven or when it is cooling and this can be down to over mixing or even just how it happens – but this is why I always cover my baked cheesecakes in stuff!
To prevent cracking too much, you can bake the cheesecake in a water bath. Seal the outside of the bottom of the tin with a double layer of foil to stop any water getting in. Place this into a roasting tin filled with water up to half the height of the cheesecake – baking time can increase slightly.
FAQs
Can I make this New York cheesecake gluten-free?
Yes, use gluten-free digestive biscuits for the base
Can I use low-fat cream cheese?
I wouldn’t recommend, It affects the texture and can cause a softer, less stable cheesecake
Can I skip the sour cream?
You can but it is likely to lack the creamy, tangy flavour New York cheesecake is known for
How do I know when the cheesecake is baked?
The edges will be set, the centre will still have a slight wobble until chilled. Trust the process.
Can I flavour this differently?
Yes! You can use this as a base and increase flavourings otherwise such as with lemon zest, orange zest, or even coffee.
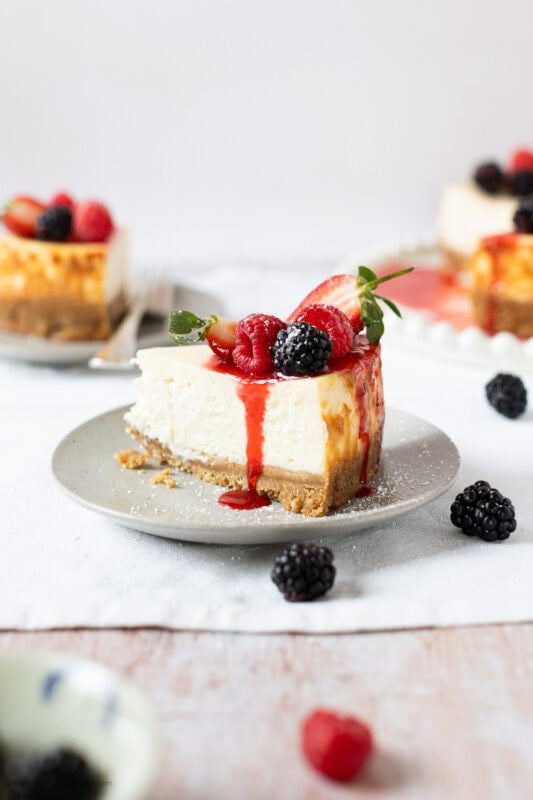

New York Cheesecake Recipe
Creamy & Sweet Baked New York Cheesecake with Homemade Coulis & Fresh Fruit – Definite Dinner Time Showstopper!
Print
Pin
Rate
Servings: 12 slices
Ingredients
Biscuit Base
- 300 g digestives
- 150 g unsalted butter (melted)
Cheesecake Filling
- 600 g full fat cream cheese
- 175 g golden caster sugar
- 30 g plain flour
- 1/2 zest of lemon
- 1 tbsp lemon juice
- 1 tsp vanilla bean extract
- 3 medium eggs
- 150 ml soured cream
Fruit Coulis
- 200 g strawberries
- 100 g raspberries
- 100 g caster sugar
Decoration
- fruit coulis (as above)
- strawberries
- raspberries
- blackberries
- icing sugar
Instructions
Biscuit Base
- Preheat your oven to 220ºc/200ºc fan and find your 8"/20cm deep springform tin.
- Blitz your digestive biscuits in a food processor into a fine crumb, pour in the melted unsalted butter and blitz again until combined.
- Press down firmly and refrigerate for now.
Cheesecake Filling
- In a stand mixer with the whisk attachment, mix the full fat cream cheese for a couple of minutes till loose (on a slow speed) and then gradually add in the golden caster sugar and plain flour – still on a slow speed. (I weigh my sugar and flour into the same bowl and then spoon a bit in making sure each spoonful is incorporated fully before adding another).
- Add in the vanilla bean extract, lemon zest and lemon juice. Gradually pour in the eggs whilst still whisking slowly with the same idea above with the golden caster sugar mix (I.e. add in a bit and wait until it is incorporated fully before adding more).
- Fold through the soured cream and pour into the tin carefully.
- Bake in the oven for 10 minutes at 220ºc/200ºc fan and then reduce the oven temperature to 110ºc/90ºc fan and bake for a further 25-30 minutes.
- Once baked, leave to cool IN THE OVEN with the door ajar for 2 hours.
- Once cooled, wrap the cheesecake (still in the tin) in foil and refrigerate overnight.
- Once chilled overnight, use a knife to run around the edges of the tin and carefully remove from the tin.
Coulis
- Chop the the strawberries into quarters and remove the tops, add the strawberries and raspberries in to a pan with the sugar and heat on a medium heat.
- Mash the fruit with a fork and heat/stir until the sugar has dissolved and the fruit has become saucy.
- Pass the mixture through a sieve into a bowl and bin the mushy bits that are left.
- Refrigerate until needed.
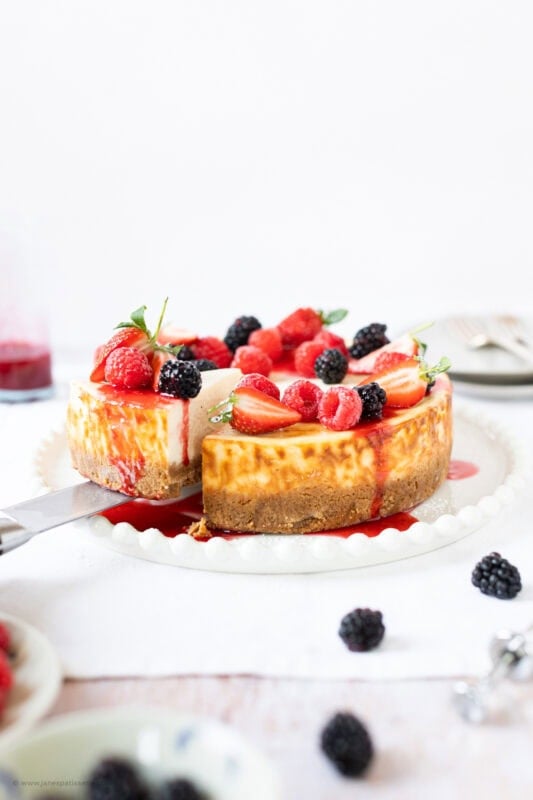
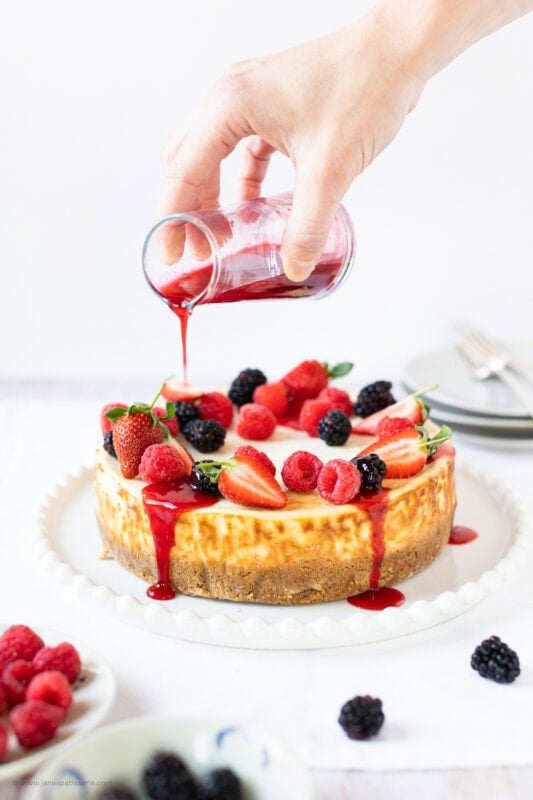
- Decorate your cheesecake with some fresh fruit, drizzles of the coulis and a dusting of icing sugar – enjoy!
Notes
- I recommend leaving this recipe wrapped in foil overnight in the fridge as it will produce the texture that you want and leave a really moussey and delicious cheesecake.
- This cheesecake can be stored in the fridge for up to 3 days.
- Once wrapped tightly this cheesecake can be stored in the freezer for up to 3 months.
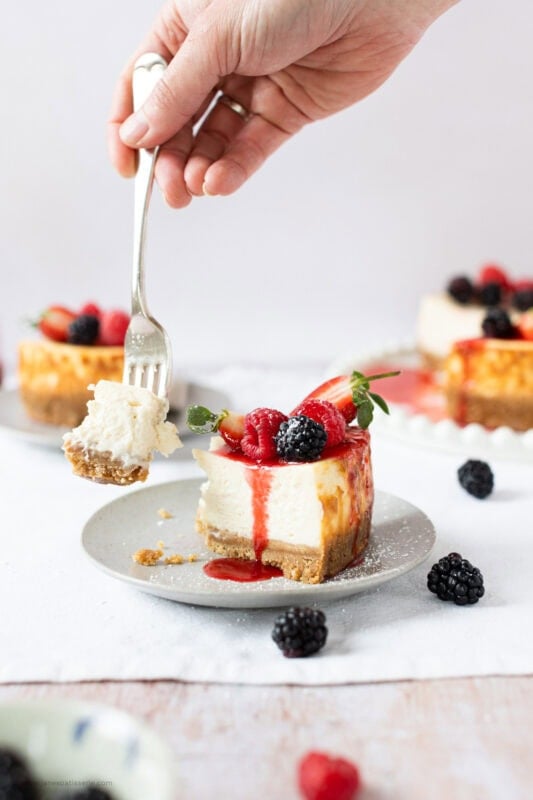
Storage and baking tips
Using the right tin makes a big difference to how this cheesecake bakes and sets. I always recommend an 8-inch (20cm) deep springform tin, as it perfectly fits the mixture and helps create that classic thick, bakery-style slice. A springform tin also makes it much easier to release the cheesecake cleanly without damaging the edges.
Once baked and fully chilled, this cheesecake will keep well in the fridge for up to 3 days. Make sure it is covered properly to prevent it from drying out or absorbing any fridge smells. The texture actually improves slightly after the first day, becoming even creamier and easier to slice.
If you want to make it ahead, this cheesecake freezes really well for up to 3 months. Wrap it tightly in foil or cling film, then place it in an airtight container. When ready to serve, defrost it overnight in the fridge to maintain the best texture.
For the best results when slicing, use a sharp knife dipped in hot water and wiped clean between each cut. This helps you achieve smooth, neat slices without dragging through the filling.
Related recipes
If this cheesecake was a big hit you will love some of my other cheesecakes. Not all cheesecakes have to be baked and no-bake cheesecakes like my no-bake lemon cheesecake has been a big hit. If you wanted more of a chocolate hit you could try my white chocolate Biscoff swirl cheesecake. However, if you’re more of a traditional cheesecake baker you will love my classic no-bake vanilla cheesecake.
My first baked cheesecake! Such a simple recipe and method to follow. I must admit, we have split in the oven a little but hopefully it will still taste amazing. It’s currently in the fridge, covered in tinfoil. Watch this space…
Ahh splits are fine! It’ll still taste wonderful!
Hi, I’m hoping to make this on a larger scale as a two tiered cheese cake.. but how could I adapt this recipe to create a larger (preferably 12inch) cake for the bottom tier? X
Hiya! I’ve never made a baked cheesecake that big, so I can’t guarantee it’ll work.. but you’ll have to use about 2.5x the recipe amount for a 12″ tin x
hello.. your cheesecake looks delish! Im making this now and while this is baking I saw butter sippin out of my pan and dripping. I dont know what to do, will it affect the cheesecake? any help?
Noo that should be fine don’t worry! Sometimes it’ll natural leak out of the bottom during baking!
yes it really doesn’t affect the taste of the cheesecake! it’s so soft and creamy! no cracks at all. thank you for this recipe, will make it again soon! 😍😍
Ahh yay! Amazing!!
My cheesecake has cracked in the middle. I didn’t think I overwhisked it but I assume this is what I’ve done wrong? Will it still taste ok? x
No thats a common occurrence, usually down to how quickly it cools, or if it was over baked slightly. It’ll be absolutely fine! X
Ok thank you Jane. I’m leaving it in foil in the fridge overnight and I’ve read of a way to seal the cracks as it is a pretty big one so will try that tomorrow. If it doesn’t work I’ll just pour over the coulis and hope for the best 🤞🏼 Also done your Oreo rocky road. I love you recipes! x
Hi Jane,
I absolutely adore your recipes, especially your no-bake cheesecakes! With this one could you replace the Philadelphia with mascarpone?
I’ve never personally tried it, but I don’t see why it wouldn’t work!
Husband made this at the weekend as a trial run for making one for christmas…have to say it turned out perfect…delicious!
Hi Jane. Do you line your tin with anything? I always struggle getting my cheesecakes off the base of the tin. Thanks.
Hiya! No I don’t personally like the base as I can manage to get mine off quite easily, but you can line them if you do struggle ?. X
Hey, I really want to make this cheesecake but sadly I don’t got a 20cm springform tin.
Would you maybe know how to adjust the recipe(or just oven-time) for a 26cm one? Or don’t I have to change anything? Would love to hear from you
x
I wouldn’t have a clue I’m afraid – the volume difference of a 20cm tin to a 26cm tin is very considerably different so I won’t know how long it’ll take to bake, how thin it would be or if it would work.. sorry!
Thanks for the reply! I”ll try to find a 20cm springform tin, how deep does it have to be?
Plus, I also wanted to make your biscoff 3layer cake, for which you used 3 regular 20cm tins. Do these tins have to be regular or can I just buy 3 springform ones?
Mine is 3 inches deep I think? If you can find one that’s 3.5/4inches deep then get that. And yes you can buy 3 springform tins. I only specify springform for cheesecakes as it makes it easier, you can use normal or springform for my other recipes 🙂
Yay, a baked one! I really don’t like ones which are just chilled in the fridge but I loooooove a baked cheesecake. If you bake it in a waterbath, it won’t split! And the texture is something else pretty darn special. This looks really beautiful Jane, the photos are stunners 😀
Oooh thank you so much! I was asked for a baked one so many times I thought I’d oblige, and I love it! So yummy! ❤️
This looks really good. I’ve always wanted to make a baked cheesecake but I haven’t done it yet…your tips above are really helpful so I will have to give it a go! Do you warm your cream cheese slightly before you beat it? The last time I made an unbaked cheesecake beating the cream cheese was a bit of a mission.
No I did mine straight out of the fridge – you shouldn’t warm it really. As you’re beating the cream cheese with a stand mixer it’s no trouble at all x
Can you individualise this recipe?
Hiya! I personally have not tried this, though it should be fine! Just keep an eye on baking times etc x
I’ve already bookmarked this. It looks heavenly.
Hehe yay! I’m so glad! Thank you! cx
what a lovely classic 🙂
Yes! I love making Classics! ☺️
Hi
Can i make this recipe into mini cheesecakes,if yes should i double the recipe for 24 mini ones?
Thanks