Chocolate Cake – Back to Basics

*This post may contain affiliate links. Please see my disclosure for more details!*
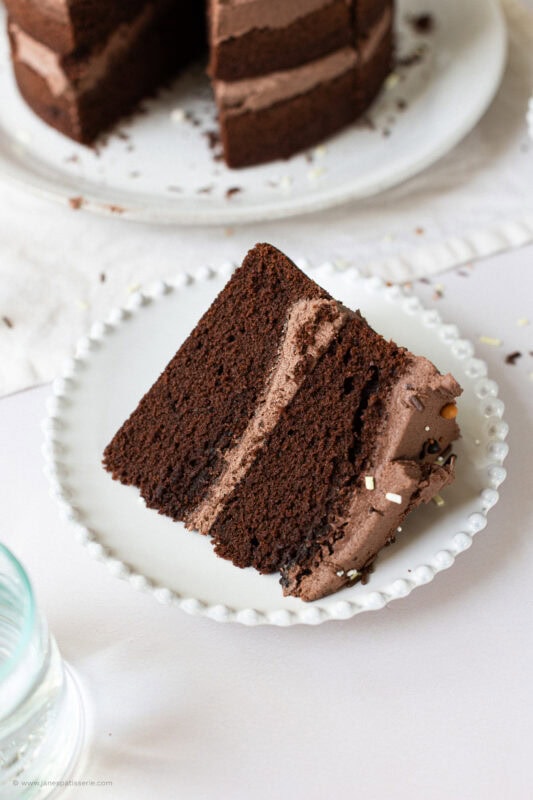
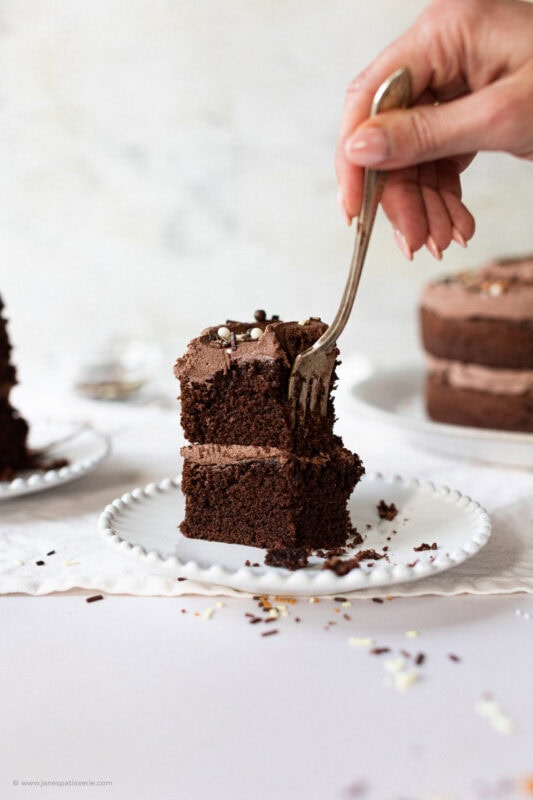
This classic chocolate cake is a traditional, fail-proof sponge based on a classic Victoria-style ratio, where a portion of flour is replaced with premium cocoa powder. Prep takes 10 minutes, it bakes in 28 to 32 minutes, and it is filled with a silky, stable chocolate buttercream frosting.

Understanding the back to basics Chocolate Sponge
This recipe is essentially a chocolate version of a traditional Victoria sponge. It operates on the golden rule of equal proportions: equal weights of fat, sugar, eggs, and dry ingredients. To transform it into a chocolate masterpiece, simply remove a small portion of the self-raising flour and replace it with high-quality cocoa powder.
Because the ingredient list is so beautifully minimal, the quality of your cocoa powder is paramount. Always use a premium, 100% cocoa powder rather than a drinking chocolate mix. This ensures your sponge achieves a rich, deep mahogany colour and a punchy chocolate flavour without adding unnecessary sweetness.
Making basic but beautiful buttercream
For the chocolate buttercream, it’s quite a simple one. You MUST use ACTUAL UNSALTED BUTTER. I mean the kind you find in foil, and that when its fridge cold, is solid. You can use a spread for the cake, but NOT for the buttercream. I might get a few smart arse comments about this as to ‘why not’ but if you want a stable buttercream, that will last no matter the heat outside, use actual unsalted butter.
If its peak summer, and there is a heatwave, you won’t need to add any liquid to the buttercream. Technically, you don’t have to at all if you really do beat your buttercream well enough, but I actually like mine a smidge softer so its easier to pipe, so I usually add between one and two tablespoons of boiling water to smooth it out. But, if the weather is so hot you don’t even want the oven on, this won’t be necessary.

Changes and flavour swaps
This hardcore classic serves as an exceptional blank canvas for customisation. Here are a few ways you can easily adapt the recipe:
Fondant decorating: Because this sponge is structurally stable and reliable, it serves as the perfect sturdy base for carving or covering in heavy fondant for novelty celebration cakes.
The sugar choice: I love using light brown sugar in the sponge because it adds a subtle caramel undertone and extra moisture, but caster sugar or golden caster sugar work perfectly fine.
Flavour extracts: You can instantly change the profile by adding 1 to 2 teaspoons of peppermint or orange extract to the batter or frosting to create a mint chocolate or chocolate orange twist.
More chocolate: If you want an even softer, more modern fudgey chocolate cake, you can use dark chocolate in place of the cocoa powder if you wish – use 100g for the sponge, and 100g for the buttercream.
FAQs
Chocolate cakes can dry out quickly because cocoa powder is highly absorbent. The two most common culprits are over baking and over mixing. Check your cakes with a skewer at the 25-minute mark; as soon as it comes out clean, remove them from the oven. Also, ensure you only beat the batter until the ingredients are just combined, over mixing develops the gluten, resulting in a dense, dry sponge.
This usually happens if the oven door is opened too early during baking (never open it before the 25-minute mark!), or if too much air was whipped into the eggs during mixing, causing the structure to over-inflate and then collapse.
If your buttercream feels too firm or gritty, your block butter was likely too cold when you started mixing, or the icing sugar wasn’t beaten in well enough. To fix it, keep beating the mixture on high speed and add 1 to 2 tablespoons of boiling water. The heat from the water will slightly soften the butter fat, dissolving the sugar crystals and creating an ultra-smooth, glossy frosting.
Absolutely! This batter makes fantastic cupcakes. Line a muffin tin with 18 to 24 cupcake cases and fill them about two-thirds full. Bake at the same temperature (180°c / 160°c Fan) for 15 to 18 minutes, or until the tops spring back when gently pressed.

Chocolate Cake Recipe
Ingredients
Chocolate Cake
- 300 g unsalted butter
- 300 g caster sugar/light brown sugar
- 245 g self raising flour
- 55 g cocoa powder
- 6 medium eggs
Chocolate Buttercream
- 200 g unsalted butter (not baking spread)
- 400 g icing sugar
- 50 g cocoa powder
Instructions
For the Cake
- Preheat your oven to 180ºc/160ºc fan, and line two 8" cake tins with parchment paper.
- Beat together your butter and sugar until light and fluffy.
- Add in the flour, cocoa powder and eggs, and beat again until combined.
- Split evenly between the two tins, and bake in the oven for 28-32 minutes. Sometimes it can take a little longer – don’t open before 25 minutes, and be as quick as you can checking with a skewer.
- Once baked, leave to cool in the tin for 10 minutes, and then transfer to a wire rack to cool fully.
For the Chocolate Buttercream
- Make sure your butter is at room temperature. Don't use a baking spread or margarine.
- Beat your butter on its own for about a minute, to loosen it up.
- Add in the icing sugar gradually, beating in during or in 1/3 at a time. Don't add it all in at once.
- Also, add in the cocoa powder, beating in fully.
- If it’s really very stiff, add in ONE tablespoon of boiling water at a time, beating fully each time, until it becomes smooth and lovely.
To Decorate
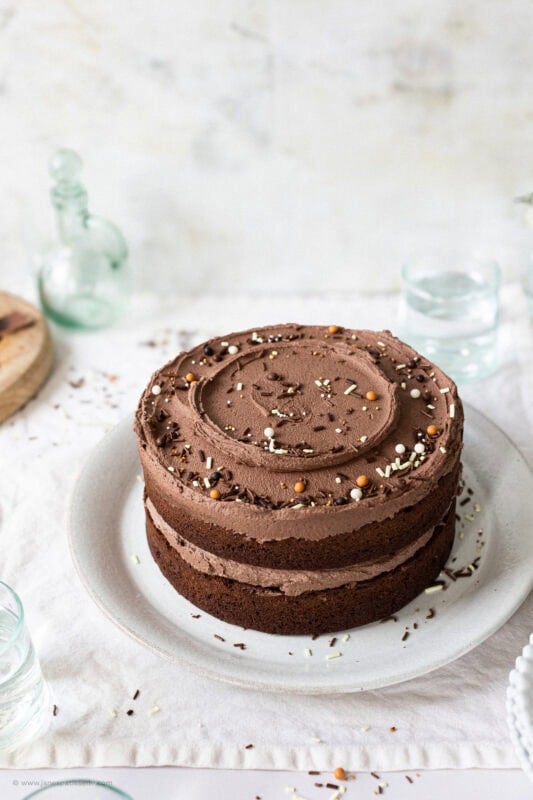
- Place your first sponge on a plate/cake board, and pipe/spread on half of the buttercream frosting. Add on the second cake, and pipe/spread on the rest of the buttercream.
- Add on anything you fancy as decoration, I used sprinkles. Enjoy!
Notes
- This cake will last at room temperature (not in the fridge as it will go hard) for three days.
- This cake can freeze for 3+ months
- I use these 8″ cake tins in this recipe
Storage and freezing
The beauty of this back to basics cake it that it will last at room temperature (not in the fridge as it will go hard) for three days. I use a cake tin or an air tight cake box to store it. You can freeze this cake before decorating for up to three months, thaw out thoroughly before finishing off with the buttercream icing.
Other “back to basics” recipes
The first in my series of ‘back to basics’ was my no-bake vanilla cheesecake. I had over SIXTY cheesecake recipes on my blog by the time I posted a delicious, but basic, vanilla cheesecake. It was something that is technically in all of the recipes already on my blog, but the number of people that had been searching for one of my blog every day astounded me.
The second in my series of ‘back to basics’, was my triple chocolate brownies. Similarly to my cheesecakes, but not to the same quantity, I had basically used the same recipe quite a few times, but always put extras in such as Biscoff, or Terry’s chocolate orange. The reactions to both of these recipes were really quite astounding! I genuinely never thought they’d be so popular, but they still are now after months of posting.
So, for the third instalment in the series, I thought I would cover one of the most delicious treats that have ever existed, the chocolate cake. Some of you may think “but you already have a chocolate cake recipe”, and I do… with my chocolate fudge cake, but that’s more an American style recipe and its super gooey, and utterly scrumptious, but definitely requires more ingredients and effort.
Tasted great and it wasn’t dry but it was quite dense. Should it have come out light and fluffy? I believe all the ingredients were measured correctly, what other factors can affect this?
If it was dense but not dry then this may just be underbaked! Hope this helps! x
Hi Jane , can I make this into a 6” recipe over 3 cake tins? Or would it be better to use two cake tins. Also if I was to go with the second option how much longer would it take to bake x
Hi. Can this go in a 9×13 traybake? Thx
Hiya! Take a look at my Chocolate Traybake Cake recipe. Hope this helps! x
Hi I only have a 9 inch (24 cm) cake tin (in France)
How would you ration up the ingredients? by 100g each? 7 eggs instead of 6?
Thank you for your lovely recipes
Thanks for sharing the recipe. Do the dry ingredients including the icing sugar need to be sieved?
You can do if you want but I personally don’t!x
I only have 1 round tin so would I be able to bake one at a time? Would that alter the time it needs to be baked at
How would I adjust the ingredients to make this as a 10 inch cake please
This recipe made the perfect wedding cake. 4 x 9inch sponges. I used 2 thirds soft light brown sugar and a third soft light muscavado sugar.
Plus used intense deep black cocoa. It layered well. I’ll definitely be using this as my special cake recipe.
Used this recipe to do a 60th birthday cake … it was delicious 😋
Thank you Jane 😊
I made this cake today and have to say I would probably add Baking powder next time as the sponge was quite dense and dry. Perhaps I need to try it again looking at the above comments.
A dry cake just means over-baked to me, so it may need less time in the oven (but also chocolate cake can be a bit like that unless you make a fudge cake.)
I made this cake yesterday using 2 x 9 inch tins. Ended up using mainly light muscovado sugar.
The verdict was light and chocolatey by everyone.
It was very level, so stacked well. It’s the only chocolate cake recipe I’ve baked recently that has done it. So it’s been chosen for a chocolate wedding cake in a couple of weeks time.
One of the best chocolate cakes I’ve tried in a while, I used 100g of chocolate in the cake and cocoa + chocolate in the icing to make it super chocolatey (for my chocoholic nephew)