
Jane's Patisserie » Recipes » Best Baking Recipes » White Chocolate Drip Cake!
White Chocolate Drip Cake!

*This post may contain affiliate links. Please see my disclosure for more details!*
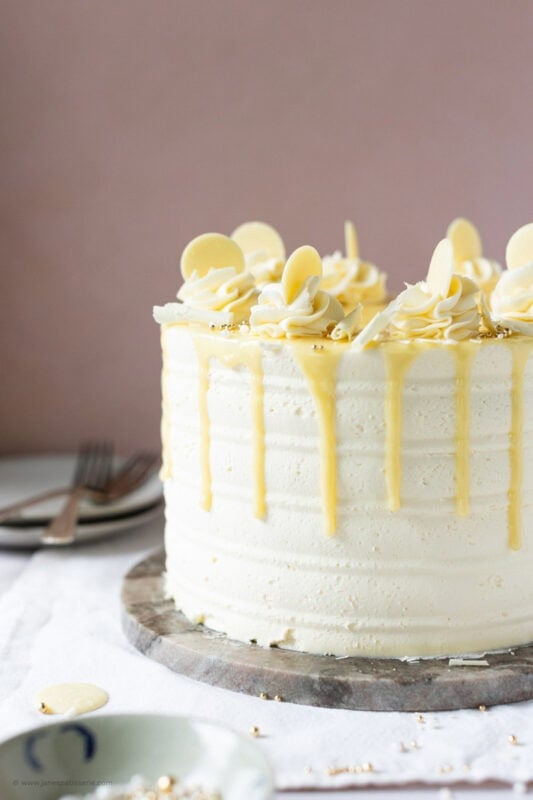
This showstopping four-layer white chocolate drip cake features a light vanilla sponge layered with a decadent white chocolate buttercream and finished with a glossy, picture-perfect ganache drip. Requiring 3 hours and 30 minutes of total preparation, baking, and chilling time, this elegant showstopper serves 15 people and delivers a professional patisserie finish for any celebration.
Notes from The Patisserie
When a major milestone or celebration rolls around, a basic single-layer cake simply won’t cut the mustard. This recipe was designed specifically to celebrate a major baking milestone, transforming a universally loved flavour profile into an structural masterpiece. It is unashamedly sweet, incredibly luxurious, and created to deliver that dramatic, clean “drip” aesthetic that makes guests gasp when it is brought to the table.
Baking four individual cake layers can easily lead to over baked, dry edges if you aren’t careful. To bypass this entirely, this recipe instructs you to bake two deep, substantial 8-inch cakes instead of four thin ones.
Ingredient notes and tips
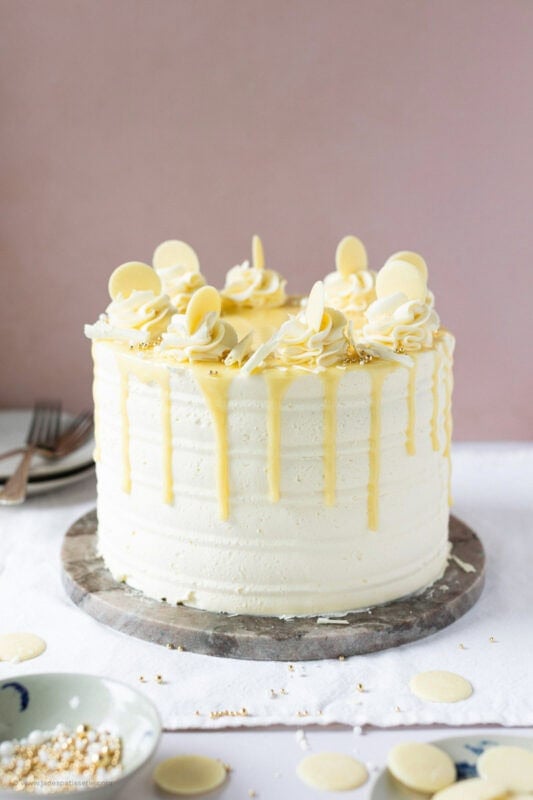
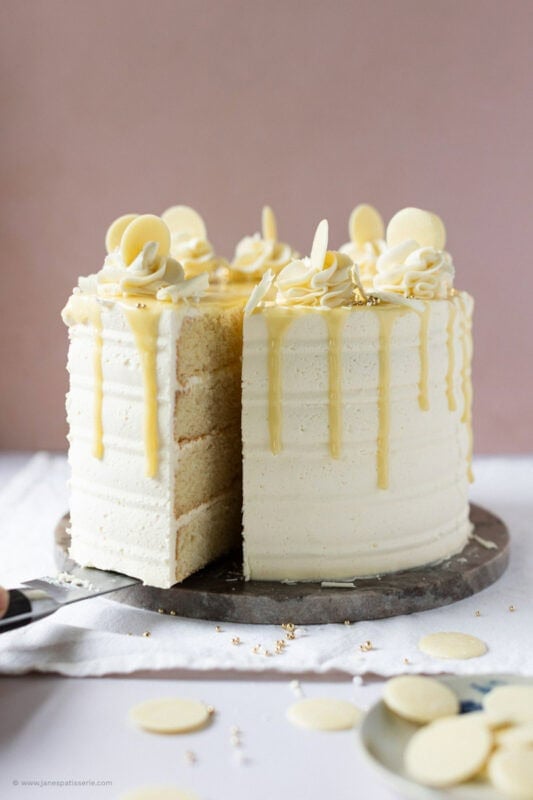
Baking two larger sponges preserves internal moisture, keeping the centre of the cake incredibly soft and stable. Once the cakes are completely cold, you use a long serrated bread knife to slice each sponge cleanly in half horizontally. This gives you four perfectly flat, structurally sound layers with exposed crumbs that are ready to grip your buttercream filling like a magnet. For my sponges I the classic equal ratio of ingredients:
- Butter – I use unsalted butter but you can you baking spread
- Sugar – caster sugar incorporates beautifully into the creamed butter, you can use other sugars but it will have different effects on the sponge
- Eggs – as in most of my recipes I use medium eggs
- Flour – self raising flour creates that beautiful airy sponge that complements the buttercream
- Vanilla – I use vanilla extract as it incorporates throughout the mixture and cuts through the sweetness of the sugar adding another flavour
To make the sponge white chocolate I would use 400g butter, sugar, and flour, 1tsp baking powder, with 8 medium eggs, 300g melted and cooled white chocolate, and 200ml whole milk. You split into the two 8″ cake tins like the rest of the recipe and bake for the same time.
Mastering the crumb coat and finish
To achieve a high-end visual finish, you cannot skip the crumb coat stage. This involves spreading a very thin, translucent layer of buttercream over the entire stacked cake to lock down any loose cake crumbs.
After a quick 30-minute chill in the fridge, your crumb coat will turn rock-hard. This allows you to apply a secondary, thick blanket of buttercream over the top without a single stray crumb ruining your design. You can then use a patterned metal cake comb or scraper against your turntable to carve gorgeous, uniform ridges into the sides of the frosting for a beautiful modern texture.
White chocolate ganache
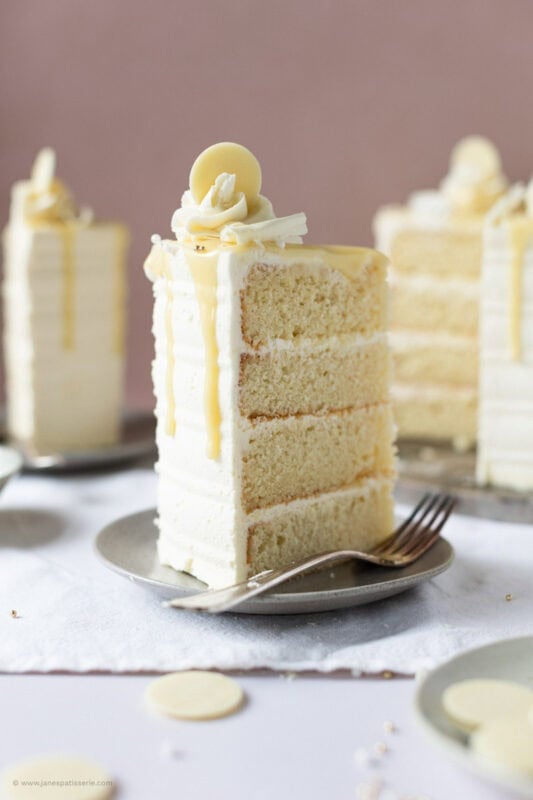
For the ganache decoration, it is a bit different to my others. Because you are using white chocolate, the ratio of how much cream you use for the amount of chocolate is completely different.
The standard is either a 3:1, or a 4:1 when it comes to a white chocolate ganache. I personally love the 3:1 ratio. It may sound strange only using such a small amount of double cream – but it’s honestly all you need. Add in too much and it will be very very runny.
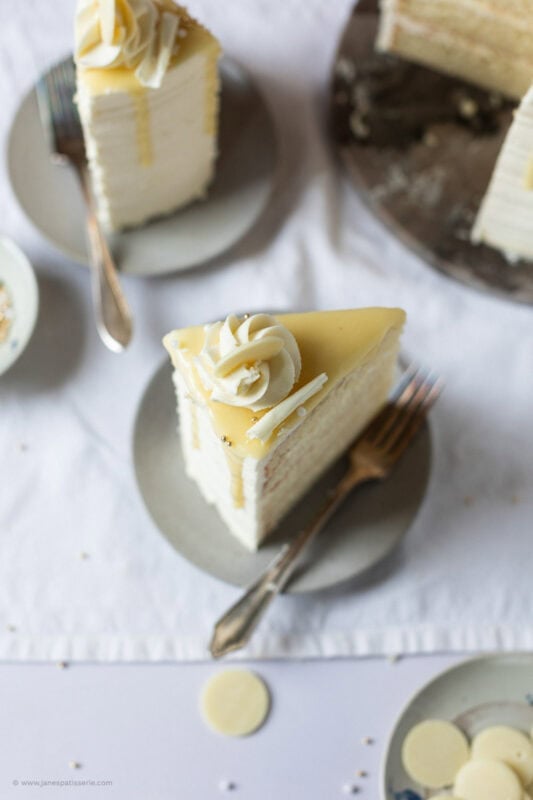
FAQs
How do I make my ganache whiter as it has come out yellow?
If you want to make your ganache whiter like I have, you can use this white food colouring. It works for buttercream, ganache etc.
Why did my ganache drip slide all the way off the cake?
This happens for two reasons: either your ganache was still too warm when you applied it, or your cake wasn’t cold enough. Make sure your cake has sat in the fridge for at least 30 minutes before dripping, and test a single drip on the back of a cold glass to check its speed before tackling the cake.
What is the easiest way to apply the drip decoration smoothly?
While a teaspoon works perfectly fine, transferring your warm ganache into a small plastic piping bag gives you ultimate control. Snip a tiny fraction off the tip, and gently squeeze the bag at the upper edge of the cake, allowing you to regulate exactly how much chocolate cascades down the sides.
Do you need to chill between crumb coat and the final layer of buttercream?
If you’re short on time you can steam ahead but it will likely effect the finish on cake, chilling between stages gives you a solid platform to spread the next layer of buttercream. I wouldn’t skip this stage if you can.
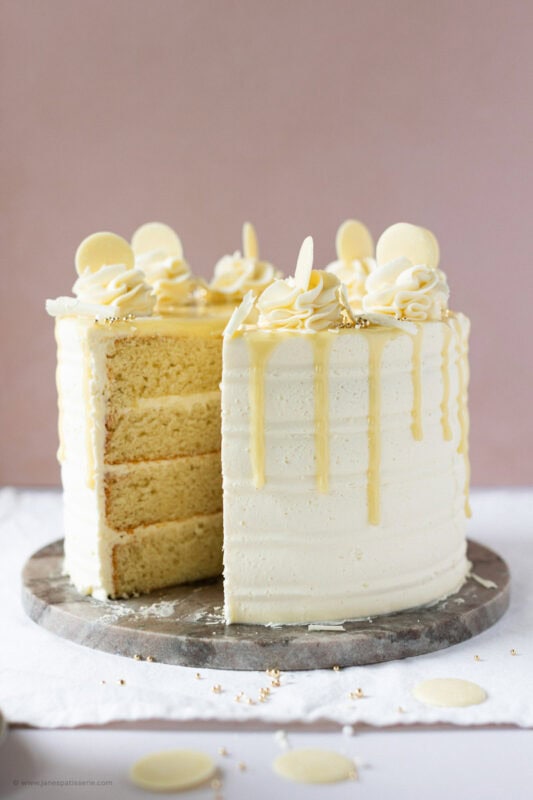
White Chocolate Drip Cake Recipe
A four layer white chocolate drip cake with white chocolate buttercream and a white chocolate ganache drip!
Print
Pin
Rate
Servings: 15 People
Ingredients
Cake
- 500 g unsalted butter/baking spread
- 500 g caster sugar
- 10 medium eggs
- 500 g self raising flour
- 1 tsp vanilla extract
Buttercream
- 300 g white chocolate
- 500 g unsalted butter (room temp)
- 1000 g icing sugar
Ganache
- 150 g white chocolate
- 50 ml double cream
Decoration
- white chocolate sweets/truffles
- white chocolate sprinkles/sprinkles
Instructions
For the Cake
- Preheat your oven to 170ºc/150ºc fan, and line two 8"/20cm cake tins with baking parchment.
- In a stand mixer, or a large bowl, beat together your unsalted butter and caster sugar until light and fluffy.
- Add in the eggs, self raising flour, and vanilla extract and beat again until combined well.
- Split the mixture between the two tins.
- Bake the cakes in the oven for 50-60 minutes, or until baked through – check with a skewer to make sure they're done
- Leave the cakes to cool in the tins for 10 minutes, and then take out and leave to cool fully on a wire rack
For the Buttercream
- Melt the white chocolate until smooth, and leave to cool whilst doing the rest.
- Beat your unsalted butter on its own for minute or two, to soften it and loosen it.
- Add in the icing sugar and beat well until smooth and fluffy.
- Add the melted and cooled white chocolate and beat again.
For the Decoration
- Split the two cakes into four layers in total.
- Put the first cake onto a cake board of plate. Add a little buttercream and spread. Repeat with the second and third sponges. Add the final sponge on top.
- Using a small amount of buttercream, spread and smooth around the cake sides and top for a crumb coat and add to the fridge for at least 30 minutes.
- Once set, add more buttercream onto the tops and sides of the cake, and smooth around covering the cake completely in buttercream.
- I add the buttercream on using a small angled spatula, and smoothed around the edge with the patterned scraper! You need to make sure there is more buttercream on the sides of the cake than you need, as some will be removed as you smooth it over.
- Once finished, put the cake in the fridge again for at least 30 minutes.
Ganache
- Add the white chocolate and double cream to a bowl, and microwave until smooth.
- Using a small piping bag or a teaspoon, drip the ganache down the sides of the cake. The more you push over the edge, the further the drip will fall.
- Set the cake in the fridge again for 30 minutes!
- Finish the cake off by piping on any leftover buttercream, and adding any sprinkles and truffles you like!
Notes
- This cake lasts for 3-4 days at room temperature
- This cake will freeze for 3+ months
- For this cake I used:
- I used two of these 8″ cake tins
- These piping bags for the buttercream
- These piping bags for the drip
- This cake turntable to make decoration easier
- I used these combs on my cake to create the style
- I used this piping tip for the buttercream!
- I use this white chocolate in my baking
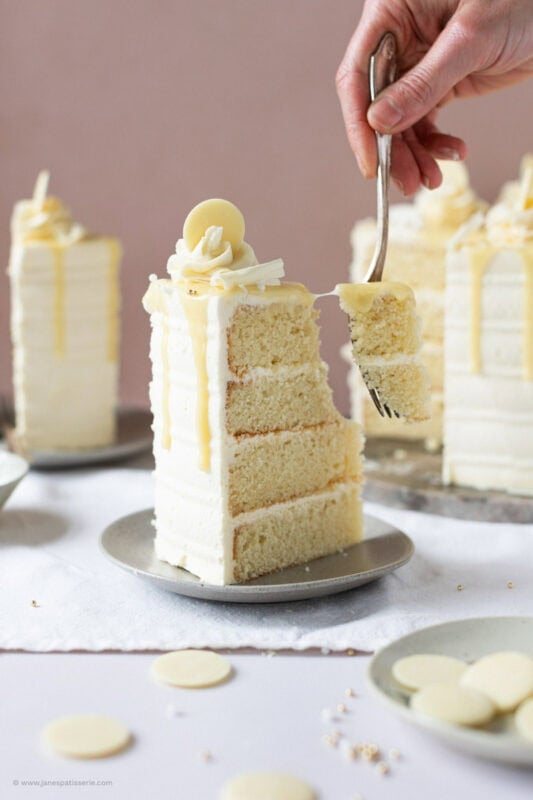
Storage and freezing
This celebration cake keeps beautifully at room temperature for up to 4 days when stored inside a airtight container. Do not refrigerate the fully finished cake for long-term storage, as cold air will dry out the cake crumb.
If you want to prepare ahead of time, you can freeze the un-iced sponge layers for up to 3 months by wrapping each individual room temperature cake layer tightly in a double layer of plastic cling film before placing them flat in the freezer.
Related recipes
If you are obsessed with the rich, luxurious creaminess of white chocolate bakes, there are plenty of other decadent treats on the blog to explore next. Try the ultra-fluffy White Chocolate Cupcakes loaded with hidden molten chocolate chips, or scale things up with the majestic White Chocolate & Pistachio Cake for an incredible nutty contrast.
I was thinking of doing this with a white chocolate ganache for the outside. Would you recommend this? If so, how much butter cream would I need for the layers and decoration peaks?
Thank you
Not sure if I missed something as I used 2 tins like it says and still had around 1/4 mixture left and my tins were way overfilled so I lost half of each from them overflowing in the oven. Is it supposed to be 4 tins, not 2?
This sounds like you are using tins that are far too small – maybe sandwich tins? These are deep cakes and I always recommend tins at least 2.75-3″ in depth (The ones I use are linked on the post) x
Hi, has anyone used white chocolate in the cake recipe too? If so, do i need to adjust any quantities please? Thank you 🙂 🙏
It says in the info before the recipe
Hi,
What ingredient ratios would you use and how long would you bake this if doing a 6 inch and a 10 inch cake?
Thanks!
Hiya, is there a way to make this gluten free please?