
Jane's Patisserie » Recipes » Best Baking Recipes » Honeycomb Crunchie Cake
Honeycomb Crunchie Cake

*This post may contain affiliate links. Please see my disclosure for more details!*
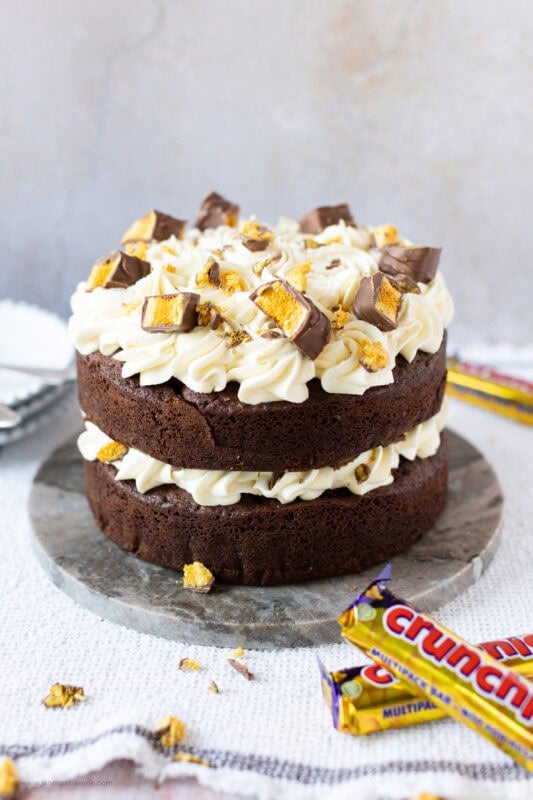
This decadent Honeycomb Crunchie Cake pairs a deeply moist chocolate sponge made with light brown sugar with an irresistible hidden layer of smooth Crunchie spread, sweet honey buttercream, and a dramatic topping of crushed honeycomb chocolate bars. With a 20-minute prep time and 45 minutes in the oven, it is an effortless crowd-pleaser built for big celebrations.
Notes from The Patisserie
After my Honeycomb Crunchie Cupcakes absolutely blew up on Pinterest with over 10,000 pins, I knew I had to give you guys a showstopping layer cake version. To make this one truly special, I’ve elevated it with a layer of smooth Crunchie chocolate spread right under a cloud of fluffy honey buttercream. It is rich, nostalgic, and completely addictive.
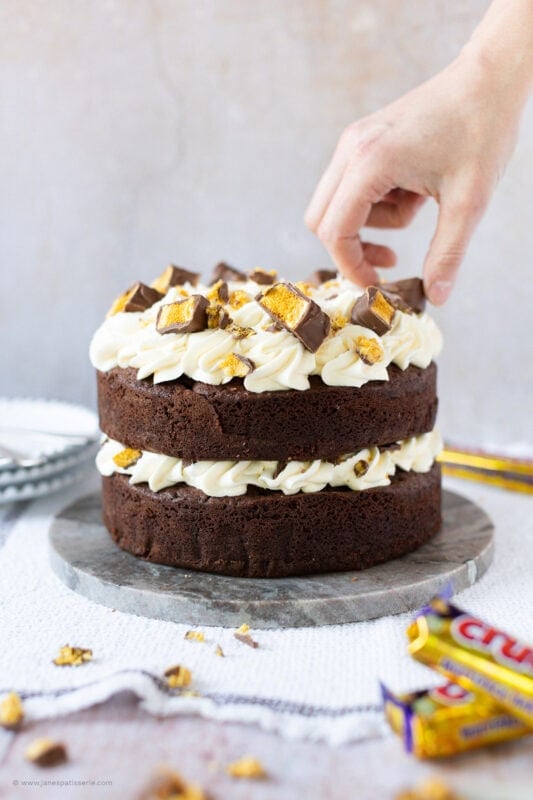
The key to this delicious bake is light brown sugar. Using light brown sugar does more than just add a hint of caramel flavour, it alters the fundamental chemistry of your cake batter. Because brown sugar is acidic, it reacts beautifully with the baking powder, releasing carbon dioxide early in the baking cycle. The result is an incredibly tender sponge that stays moist days longer than a standard white-sugar sponge.
The delicious cocoa sponge
Achieving the perfect texture in a chocolate sponge requires a delicate balance of moisture management, especially when cocoa powder is involved. Even the highest quality cocoa powder can easily result in a dry, dense crumb if not handled correctly.
- Butter – I use unsalted butter or baking spread for the cake sponge
- Sugar – Light brown sugar works wonderfully with the baking powder to create a airy sponge
- Eggs – I use medium eggs
- Flour – I use self raising flour to provide the perfect sponge
- Baking Powder – the extra baking powder reacts with the sugar
- Cocoa Powder – a highly quality cocoa powder makes the difference here
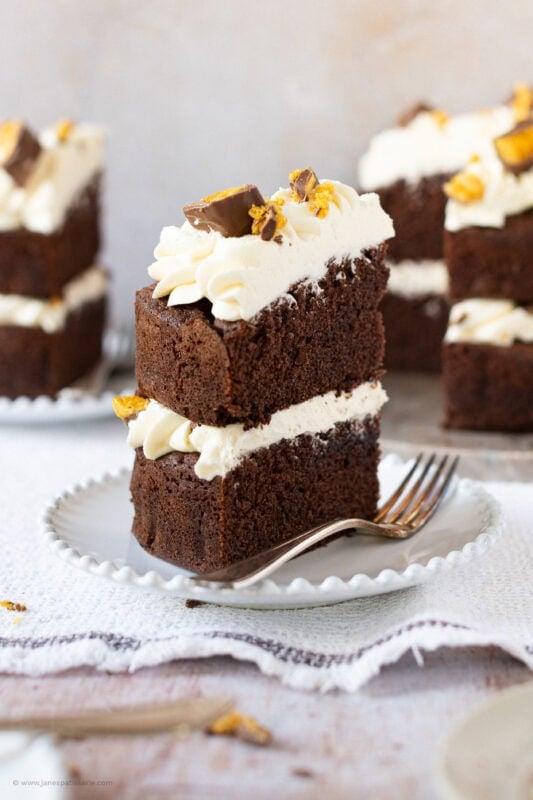
I used two 8″/20cm tins to make this, and they’re about 4 inches deep in size. The cake doesn’t rise that much, but I use these tins all the time as they’re so easy, and can fit bigger cakes in if need be. You can split the mixture between three tins like my Biscoff Cake for example, but I like this as a two layer.
Working with honey in buttercream frosting
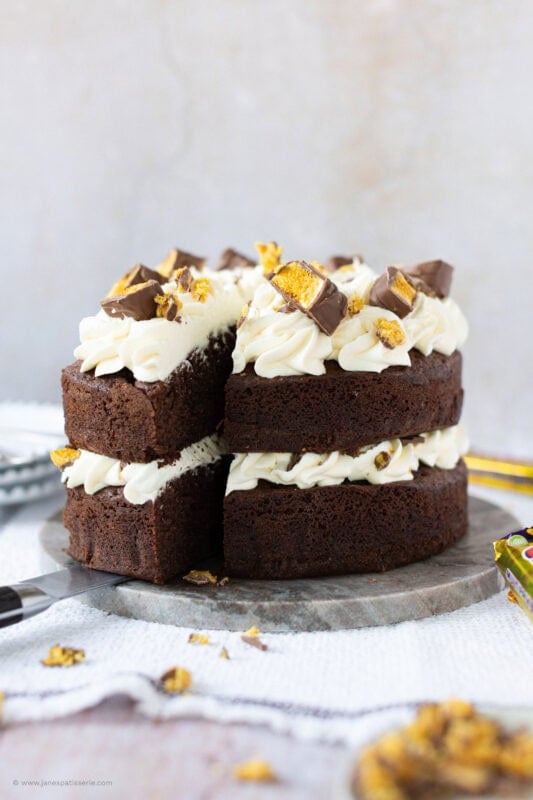
Remember you CANNOT use baking spread for your buttercream it contains too much water content, lacks the flavour you’re looking for and will only add to the problems honey can cause. Naturally, honey is a liquid, you need to introduce it slowly so your frosting stays nice and thick. The trick is to beat your solid butter entirely on its own for a few minutes first until it is completely smooth and loose.
Once you gradually mix in the icing sugar, you will have a sturdy base that can easily absorb the honey without separating or losing its fluffy texture. I use my favourite closed star piping tip to create beautiful swirls on top of the cake, this contrasts with the broken honeycomb pieces.
FAQs
What exactly is Crunchie Spread and where can I find it?
It is a smooth milk chocolate spread packed with tiny, crispy bits of honeycomb. You can find it in most major UK supermarkets in the sweet spreads aisle. If you can’t track it down, standard Nutella or any smooth chocolate spread mixed with some finely crushed honeycomb works perfectly too.
Why does this cake bake at a slightly lower temperature?
Baking at 170°c conventional (150°c fan) allows the heat to gently reach the centre of these deep 8inch tins. The edges of the cake won’t dry out whilst being able to cook the centre of the cake fully.
Can I bake this recipe across three tins instead of two?
Absolutely! Splitting the batter evenly across three standard 8-inch sandwich tins will give you thinner, lighter layers. Just make sure to drop your baking time down to around 25 to 30 minutes, and start keeping an eye on them after 20 minutes.
Why shouldn’t I put chopped Crunchie bars inside the middle filling?
Honeycomb hates moisture. If you bury chopped Crunchie pieces inside the damp buttercream layers ahead of time, they will melt into a sticky syrup within a few hours, which can make your top cake layer slide right off.
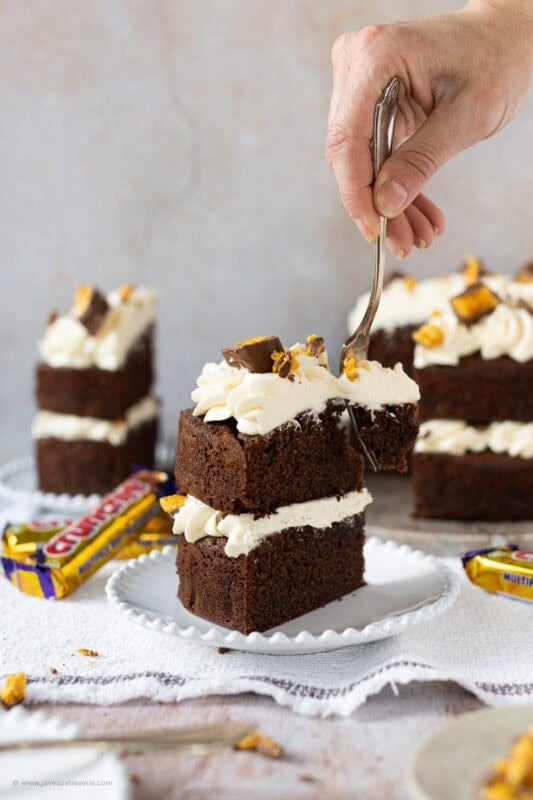
Honeycomb Crunchie Cake!
Chocolate Sponge, Crunchie Spread, Honey Buttercream Frosting & Crunchies.. the Perfect Honeycomb Crunchie Cake for all occasions!
Print
Pin
Rate
Servings: 14 Slices
Ingredients
For the Cake
- 350 g unsalted butter or baking spread
- 350 g light brown sugar
- 7 medium eggs
- 300 g self raising flour
- 1 tsp baking powder
- 50 g cocoa powder
Honey Buttercream Frosting
- 250 g unsalted butter (not baking spread)
- 500 g icing sugar
- 100 g clear honey
Decoration
- 1 Jar Crunchie spread
- 4 Crunchie bars
Instructions
For the Cake
- Heat the oven to 170ºc/150ºc fan and line two deep 20cm/8inch sandwich cake tins with baking parchment – leave to the side.
- In a stand mixer, beat together the butter and sugar until light and fluffy. Add in the flour, eggs, baking powder and the cocoa powder and beat again briefly till combined – try not to over beat!
- Divide the mixture between the two tins and smooth it over – bake for 45-55 minutes until the cake springs back and the skewer should also come out clean.
- If you listen to your cake, and it sounds like its bubbling/crackling it isn’t quite done… bake for another few minutes until its quiet! (I bake at a lower temperature as it keeps the cake more moist, and bakes flatter. Can take longer/shorter time depending on the oven so check after 40 minutes!)
- Once baked, leave the cake to cool in the tin for 10 minutes, and then remove and leave to cool fully on a wire rack.
For the Frosting/Decoration
- In a stand mixer, beat the butter with an electric mixer (with a paddle attachment) until it is smooth and loose and then beat in the icing sugar 1/3 at a time until its fully combined.
- Once in, add in the honey, and keep beating the buttercream for 3-4 minutes on a medium speed so it starts to get fluffier and lighter.
- If the buttercream is a little stiff, add in one tablespoon or two of boiling water till you have your desired consistency.
- With the first layer of the cake, spread some of the Crunchie Spread onto the cake and then pipe half of the buttercream on top!
- Add the second cake on top, spread on some more of the Crunchie Spread, and then top with the rest of the buttercream. Sprinkle over some chopped Crunchies and add a larger chunk of Crunchie for each cake slice! Enjoy!
Notes
- I also used a closed star piping nozzle to decorate my cake as I like the look it gives – but slathering on the buttercream is also a delicious option.
- This cake will last in a container for 3 days, at room temperature.
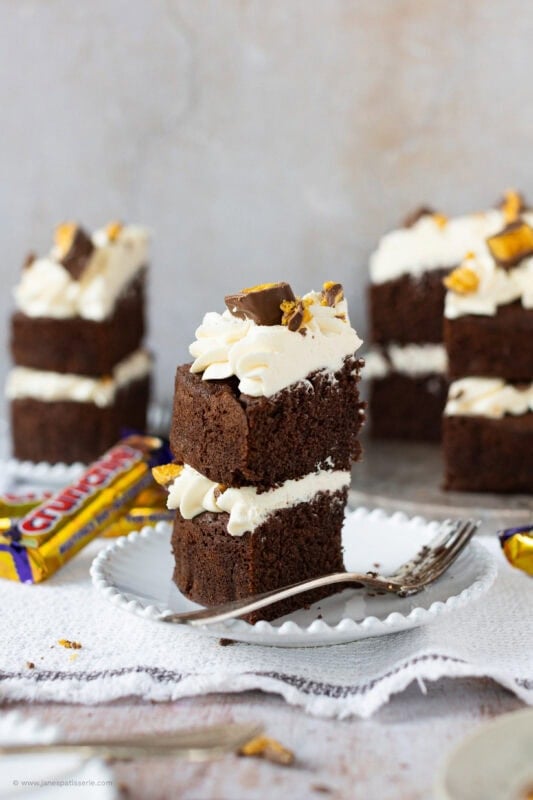
Storage and freezing
This cake will stay perfectly fresh, moist, and delicious for up to 3 days when kept in an airtight container at room temperature. Keep it out of the fridge, as cold air dries out chocolate sponges quickly. If you want to make it ahead of time, wrap the un-iced, fully cooled cake layers tightly in a double layer of cling film and freeze them for up to 3 months. Just let them thaw on your kitchen counter overnight before assembling.
Related recipes
If you loved playing with the fun textures and flavors of this celebration cake, there are plenty of other incredible recipes to try out on the blog! Revisit the original inspiration with my popular, bite-sized Honeycomb Crunchie Cupcakes, expand your chocolate skills with a classic two-layer Chocolate Cake, or explore a completely different flavor profile using cookie butter with my viral Biscoff Cake.
cant find Cadbury Crunchie spread anywhere ….. would the honey centre work on top or would it be too sweet?
Hiya! Just leave the spread out if you can’t find it xx
I love all things Crunchie! This definitely hit the spot and had a lot of great feedback too!
hi Jane
please would you be able to put up a link as to where I can purchase the cake tins from. i am really struggling to find this size you have mentioned 8inch/20cm 4inches deep. it would be really helpful! thank you so much
I didn’t want to look…but I did look at the ‘Nutritional Facts’…I shouldn’t have done that lol!!
Oh well…we only live once and life is too short not to make and eat this glorious looking ‘thing’!
You must be the devil my dear…(and I might just love you)
The nutritional facts are only a guide. Any food, including cake, can be enjoyed as part of a healthy diet! Also, for a massive slice of cake, it’s really not that bad.
Hi Jane
I have used this recipe a couple of times, and it’s always been a huge success. Have you ever tried freezing the undecorated sponge? I’d like to make it on advance, and often freeze cakes.
Thanks, Helen
I personally rarely ever freeze sponges, but there’s no reason why you can’t freeze it!
Beaut recipe – I couldn’t find crunchie spread in any of my local shops so i mixed some nutella & crushed crunchie & it was fab!
I’ve just made this cake for my birthday cake (with help from my 14 year old son). It looks amazing – thanks to your amazing recipe – just waiting to have some at lunch. We’re sure it will taste yummy, as we were taste testing all the different elements as we baked and decorated!
Hi Jane
How much would the recipe need altering if i used 8 inch sandwich tins – they’re only about 2 inches deep.
Thank you
Sophie
x
I believe that it would be fine to use two sandwich tins if they’re about 2 inches deep, the cake sponges themselves don’t end up that deep once split between two tins.
I made this at the weekend. It’s amazing! Love your recipes. Have done a few of them now and others are on my to do list.
Hi, can you tell me the brand of that crunchie? Because i couldn’t find it here, maybe i can buy it online.. Thankyou 🙂
Hiya I am in the UK and its Cadburys. It’s a honeycomb/cinder toffee style bar covered in chocolate if that helps.
Wow, It looks great!
I took the crunchie cup cakes to my grandson’s Macmillan (bring & buy) coffee morning at school and as soon as the lid came off they were bought by the guy behind me in the queue. I did manage to buy one back before he took the rest and will definitely be trying the big cake version
Ohh thats amazing haha! I love that you bought one back!! Enjoy the big cake too..!