
Jane's Patisserie » Recipes » Best Baking Recipes » Red Velvet Cake!
Red Velvet Cake!

*This post may contain affiliate links. Please see my disclosure for more details!*
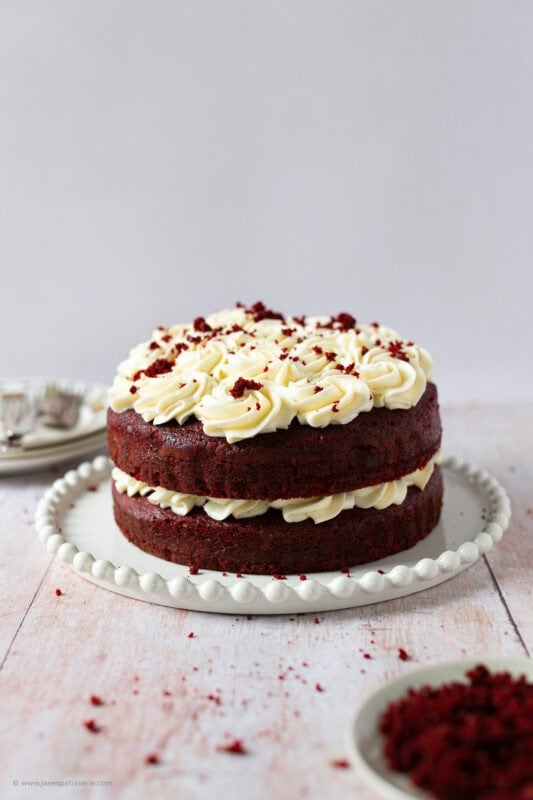
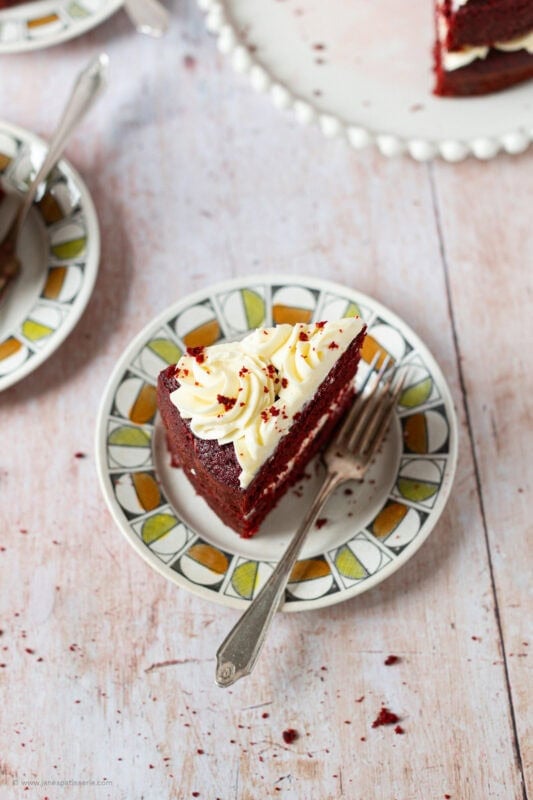
This striking classic red velvet cake features a wonderfully light, cocoa-kissed sponge layer perfectly balanced by a thick, velvety cream cheese frosting. Requiring 20 minutes of active prep, 30 minutes of baking time, and a 3.5-hour chill, this recipe creates a beautiful 12-slice showstopper that masters the perfect red velvet crumb.
Notes from The Patisserie
The vibrant crimson of a modern red velvet cake is a beautiful marvel of baking chemistry. Historically, the reddish tint came from a natural reaction between the cocoa powder and acidic ingredients like buttermilk and vinegar, which activates the red in the cocoa.
Today’s cocoa powders are heavily alkalised to reduce acidity, which neutralises this reaction and leaves the cake a dark brown. To achieve that signature, show stopping bright red, you must rely on high-quality gel colourings rather than standard liquid supermarket bottles, which contain too much water and fade under oven heat.
The red velvet texture
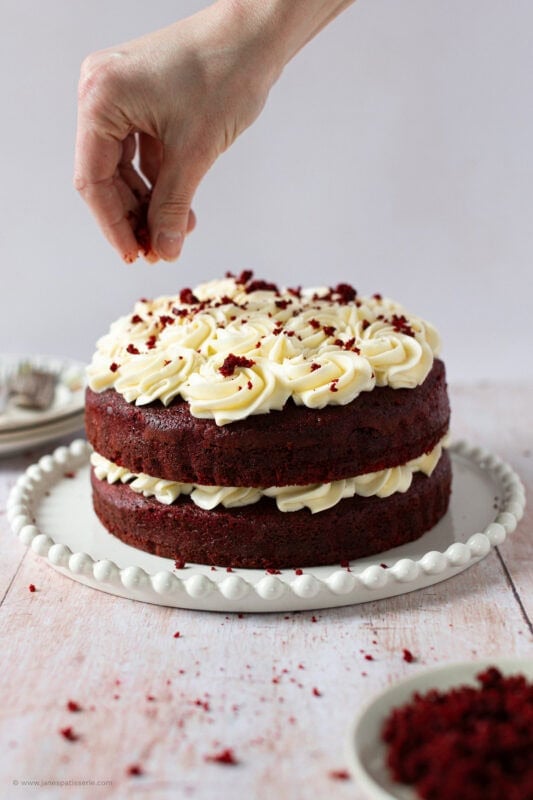
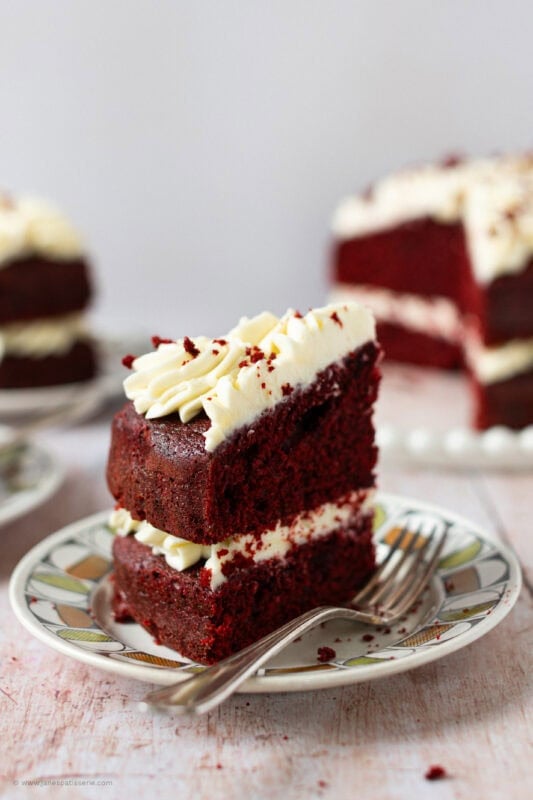
The word “velvet” isn’t just a marketing term; it describes the incredibly fine, tight, and soft crumb structure of the cake. This unique texture is triggered by a quick-acting chemical reaction between the ingredients:
- Butter – I use unsalted butter at room temperature
- Sugar – caster sugar provides a finer granule of sugar to create that fine crumb
- Eggs – as usual I use medium eggs unless stated otherwise
- Cocoa powder – high quality cocoa powder is the difference in flavour and texture
- Red colouring – I use high quality food gel, a little goes a long way!
- Vanilla – I use vanilla extract for that classic flavour profile
- Buttermilk – the acidic profile works with the akalines creating bubbles in the batter
- Flour – plain flour works well here as we are creating a rising reaction elsewhere
- Bicarbonate of soda – this is the main akaline being utilised to react with the buttermilk
- Vinegar – I use white wine vinegar to act as another acid to work with the bicarb
When the acidic buttermilk and white wine vinegar hit the alkaline bicarbonate of soda, they instantly react to release carbon dioxide bubbles. This reaction causes the batter to expand rapidly in the oven, lifting the heavy flour and creating a crumb that is light, brilliantly tender, and uniquely melt-in-the-mouth.
Delicious cream cheese frosting
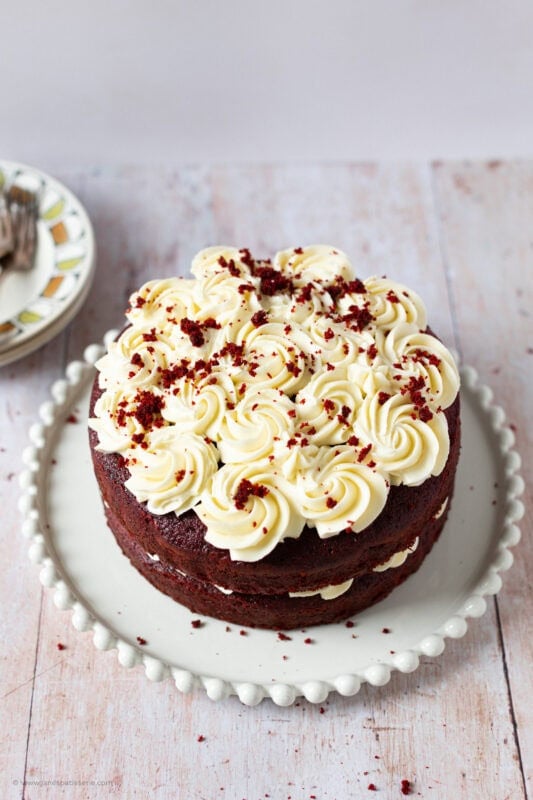
The cake has a delicious mix of the flavours of chocolate and vanilla, which is utter heaven to me. The cream cheese frosting on top is sweet, delicious, and marries with the cake perfectly – but cream cheese frosting can always be a liiiittle bit runny in comparison to others, thats its nature, however, as long as you don’t over beat it too much, it’ll be lovely and delicious.
I love this cake so so so much, so I really hope you guys do too. For the cream cheese frosting, you have to make sure that your cream cheese has no extra excess liquid, and try not to over mix the mixture. Also, room temperature butter is important so there is no lumps. Take a look at this blog post for a whole post dedicated to cream cheese frosting.
FAQs
Can I use a liquid food colouring if I double the amount?
No, liquid colourings contain too much water and will alter the chemistry of the batter, resulting in a dull, brownish cake with an unpleasantly bitter taste.
Why does the flour and buttermilk need to be added in stages?
Alternating between the dry flour and liquid buttermilk prevents the fat in the creamed butter mixture from separating, ensuring a completely smooth, emulsified batter.
My frosting looks a bit lumpy at first, what should I do?
Don’t panic; cream cheese frosting often goes through an unappealing lumpy stage, so simply keep beating it for a few minutes and the lumps will smooth out perfectly.
Can I use standard baking powder instead of bicarbonate of soda?
No, baking powder does not have the same intense alkaline strength needed to react with the vinegar and buttermilk to create the classic velvet crumb.
Red Velvet Cake!
A delicious & light and moreish red velvet cake smothered in cream cheese frosting – hello cake heaven!
Print
Pin
Rate
Servings: 12 slices
Ingredients
Cake
- 125 g unsalted butter
- 300 g caster sugar
- 3 medium eggs
- 30 g cocoa powder
- 1 heaped tsp red food colouring
- 1 tsp vanilla extract
- 250 ml buttermilk
- 300 g plain flour
- 1 tsp bicarbonate of soda
- 2 tsp white wine vinegar
Cream Cheese Frosting
- 150 g unsalted butter (room temperature)
- 150 g icing sugar
- 300 g full fat cream cheese
- 1 tsp vanilla extract
Instructions
Cake
- Preheat your oven to 170ºc/150ºc fan and line/grease two 8" cake tins – leave to the side for now.
- Beat together the unsalted butter and caster sugar in a stand mixer until smooth and fluffy like you would a normal cake, and then gradually beat in the egg so that it doesn't curdle (if it doesn't curdle, beat in a little flour to bring it back)
- In a small bowl, mix together the cocoa powder, Sugarflair red extra food colouring, and vanilla extract to a thick dark paste (if it is struggling to become a paste, then add in a little milk to make it runnier and mix better – it needs to be smooth!) – it may take a couple of minutes but this will make it easier to add to the rest of the mixture if you do it this way – and the sponge will be more red!
- Add this mixture to the unsalted butter and caster sugar mixture and beat until combined and evenly coloured.
- Turn the speed down to slow, and pour in half of the buttermilk.
- Add in half of the plain flour and beat again, and then the other half of the buttermilk & beat, and then the other half of the flour & beat (I realise this is faffy, but it works!).
- Beat in the bicarbonate of soda and white wine vinegar.
- Beat again for a couple of minutes until everything is smooth and incorporated well.
- Separate into the two tins and bake in the oven for 30-35 minutes until the middle of the cake comes out clean when poked with a skewer!
- Once the cakes are baked, leave to cool fully on a wire rack.
Cream Cheese Frosting
- Make sure your unsalted butter is at room temperature. I leave mine out overnight when it's cold weather, but in the hotter months this can take as little as 30 minutes!
- Beat your butter on it's own for a few minutes to loosen it.
- Add in the icing sugar, and beat again – I beat this for about 5 minutes, to make it really smooth.
- Make sure your cream cheese doesn't have any excess water – I find it best to add it to a bowl first just to make sure.
- Add in the cream cheese, vanilla and beat. At first, it may look a little weird, but just keep on beating.
- I end up beating it for a few minutes – it can go through a lumpy stage first, but eventually the lumps beat out and it's smooth and thick!
- Once beaten – it should be lovely and thick.
- Pipe/spread 1/2 of the frosting onto the top of one sponge.
- Add the other sponge on top, then pipe/spread the other half of the frosting onto the top and decorate with sponge crumbs if you fancy!
Notes
- This cake will last in the fridge for up to 3 days, covered, or you can freeze it for up to 3 months!
- I use these 8″ Cake Tins
- I use this red food colouring
- I use this Vanilla extract
- I use this Medium 2D Closed Star Piping Tip
- If you would like the original cream cheese frosting recipe it is:
- 125g room temperature unsalted butter, 280g full fat cream cheese, 1 tsp vanilla extract, 400-600g icing sugar.
- Beat the butter and cream cheese together until smooth, and add the vanilla extract.
- Gradually add the icing sugar until thick and delicious.
Storage and freezing
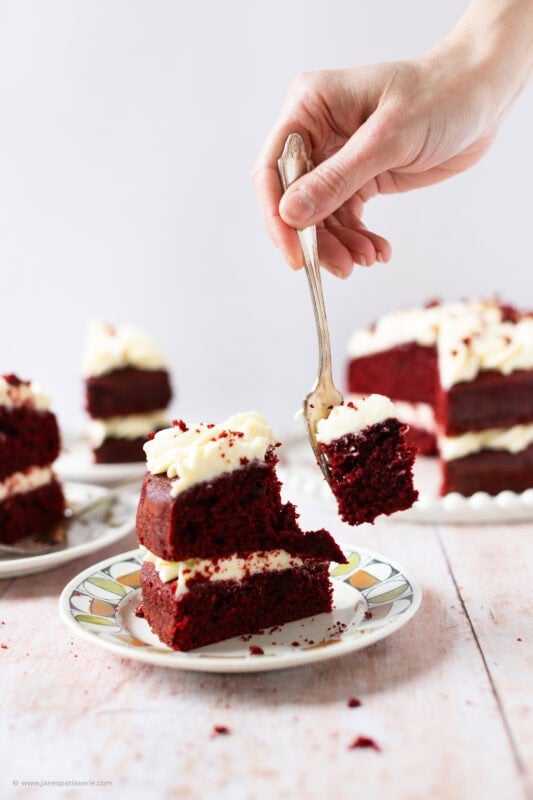
Because of the high dairy content in the cream cheese frosting, I keep the cake covered and stored in the refrigerator, where it will stay wonderfully moist and delicious for up to 3 days. If you want to prepare this dessert well in advance, the un-iced sponge layers can be wrapped tightly in plastic cling film and frozen for up to 3 months. Simply thaw them completely at room temperature before whipping up your fresh frosting and assembling.
Related recipes
Red velvet cake is one of those ‘in things’ that all coffee shops will sell at some point, and the recipe that everyone wants to have and use, but its one of the most inconsistent cakes to make at home that I have come across. I use this as a base for all things red velvet – red velvet NYC cookies, red velvet brownies, red velvet loaf cake and red velvet cupcakes… the list goes on.
hi, just wondering if this recipe would fit in 2 8-inch ordinary sandwich cake tins?
Generally I don’t recommend using sandwich tins for baking as they are too shallow x
I would’ve thought sandwich tins would be fine
too. What does Jane mean by I wouldn’t
recommend sandwich tins? does she mean
deep cake tins then?
I never use sandwich tins in baking as they are too shallow – I always recommend tins at least 2.75″ in depth as tins that are too shallow can cause problems with baking cakes x
I made this yesterday using 3 8-inch sandwich tins, about 400g of mix in each tin, and it came out perfectly. I baked them for 25-27 minutes.
made this cake last week and making it again tomorrow it was that good! highly recommend this recipe. honestly all of janes recipes are good! my go to when it comes to baking.
not only was this cake easy to make but baking and assembling was a breeze. the cake was beautifully tender and moist😊
I started this and there is no way I could get the sugar and butter smooth and fluffy with that ratio, I can’t understand how unless you add other ingredients. Jane is my go to for recipes but this one just didn’t feel right. any advice? I ended up binning the sugar and butter and making another recipe.
Did you try continuing with the recipe to see how it would all mix together? Some mixers won’t cream as well, or it can be the butter itself, but it would still have worked absolutely fine.
Did you try continuing with the recipe to see how it would all mix together? Some mixers won’t cream as well, or it can be the butter itself, but it would still have worked absolutely fine.
Hi no I didn’t as it stated smooth & fluffy before adding the eggs, I bake quite a lot with a Kenwood Chef stand mixer and have no problem creaming, I was using room temperature block butter the same as I always use, it was just the amount of sugar to butter ratio. I didn’t continue as it didn’t feel right, if the recipe had said add all the ingredients then I wouldn’t have questioned it, as it was I binned it.
The recipe works perfectly as is and it’s always worth following it through for a delicious bake and not giving up. SO many factors can contribute to something like this, even your own opinion of how smooth/fluffy it needs to be, how cold your bowl is, the quantities themselves can be too little for some larger mixers to mix properly, etc.
since finding your recipe its been my son’s requested
cake for his birthday 3 years in a row. This year im also making mini loaves for his friends at school so fingers crossed they come out well.
Hello, should I use the cream cheese recipe quantities from the recipe section, or the quantities from your notes section?
I.e. In the notes, where you mention ‘original recipe’ does that mean the ‘original’ quantities in the notes should be used instead?
Thanks!
(I plan to bake this recipe this weekend 🙂)
Made this lovely cake for my nephew’s wedding. It was delicious…. Thank you so much!
Hi, I am making this gluten free, will I need to increase the amount of buttermilk to make it less dry? Will I need add xantham gum? 🤔 x x
Love all of your receipes so much!
Could this be adapted to use in a number mould for a 30th birthday? Or could the receipe be left the same?
Many thanks!
This is my new go to red velvet cake, the texture is perfect, the flavour delicious and I love the red colour! I’ve had so many compliments when making it, thank you1
Hey, do you think this recipe would work for a Swiss roll/Yule log?
Thanks 🙏
I don’t think I’ll get a reply in time, but the amount of butter to sugar seems too little and my mixture doesn’t look right, it’s not smooth, it’s just a mass of sugar, I keep beating it. Lots of people have made this cake so the quantity must be correct I guess.
I’ve made this and thought the same – I’m used to the same amount of butter to sugar – but persevere and it works!
This was a truly fabulous recipe. I made a 12″ 3 layer version of those by adjusting the recipe quantities. Got rave comments from everyone who ate it “the best velvet cake” they had ever eaten!
What were the quantities for a 12 inch?
30g of cocoa? am I reading this wrong? Does this not just make chocolate cake?
No, it doesn’t! It’s quite a small amount really and required for the recipe x
Hello! I want to make this recipe for my friends birthday but in two number silicone tins. It’ll be 3 and a 0. They are 33cm tall and 6cm deep… do you know how much I would need in each? Would I just do it like they’re the two twins? Please can someone advise
This is the fluffiest cake I’ve ever made! I made it for my partner’s birthday and got rave reviews. I had a bit of a struggle beating together the sugar and butter but otherwise great success
Can you use self raising flour and omit the baking powder instead of plain flour please
Unfortunately it isn’t so simple for this cake as the raising agent also comes from the other ingredients x